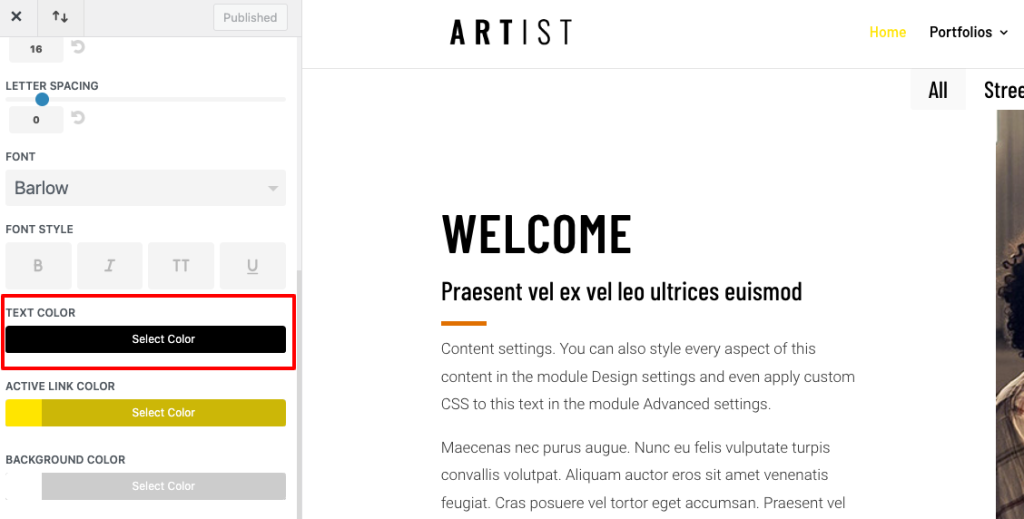
Divi is a popular WordPress theme that comes with a powerful page builder and a wide range of customization options. But it has some limitations and sometimes we need to add CSS code. In fact, we can edit from the back office the color’s link, font-size, lettering space, etc… but for example, we can not edit the color link, when we hover it. By default, Divi only reduces the opacity of the link to 70%. How to change the color of menu’s links in Divi:
In this little tutorial, we’ll show you a snippet code to change the color of the links.
Change the color of all links with Divi options

CSS for changing menu link hover color in Divi:
Here are the steps to change the color of links with Divi WordPress:
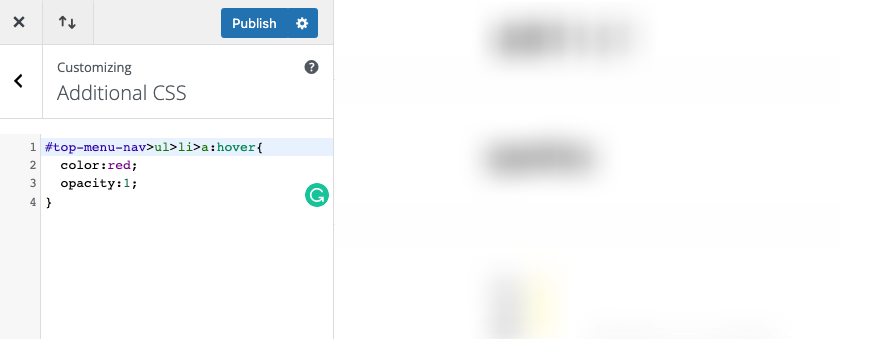
- Login to your WordPress dashboard and go to the Divi Theme Customizer
- Navigate to the “Additional CSS” and paste the next CSS code.
- Once you have added the code, click “Publish” to save your changes.

#top-menu-nav>ul>li>a:hover{
	color:red;
	opacity:1;
}
The result:

Change the color of only one link

If we want difference or distinguish only a link we can do it.
- Navigate to “Appearance” / “Menus” and select our menu.
- Click on “Screen Options” and activate “CSS Classes”. You’ll find this menu in the upper right.

3. Add a class name to the link that you want. Click to “Save”.

4. Go to “Divi Theme Customizer” / “Aditional CSS” and add this code. Important, you need to use the same class as before:
#top-menu .my-shop a{
	color:purple /* Change this value for the color that you want */
}
Change the background for the submenu link in Divi
By default, Divi applies a gray background in the links of our submenus. We can remove or edit it with CSS too.

#top-menu li li a:hover{
	background:yellow;
}
The result:

How to change the color of menu’s links in Divi
In conclusion, Divi is a powerful tool but knowing CSS gives us more freedom and control for customizing our designs.
Do you like this content? Subscribe to our newsletter and be the first to receive the new posts in your inbox!
How to change the color of menu’s links in Divi | Destaca Divi themes experts


0 Comments