Divi Builder Menú
Unlimited menus with Divi Builder
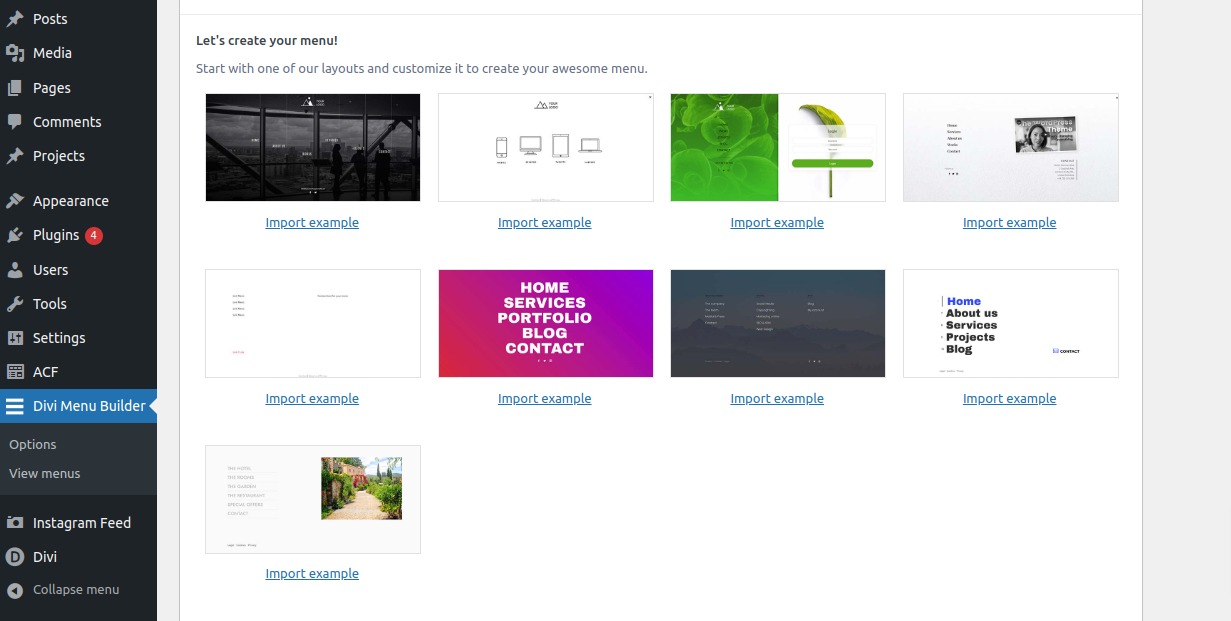
Includes 8 templates
Unlimited Custom Menu
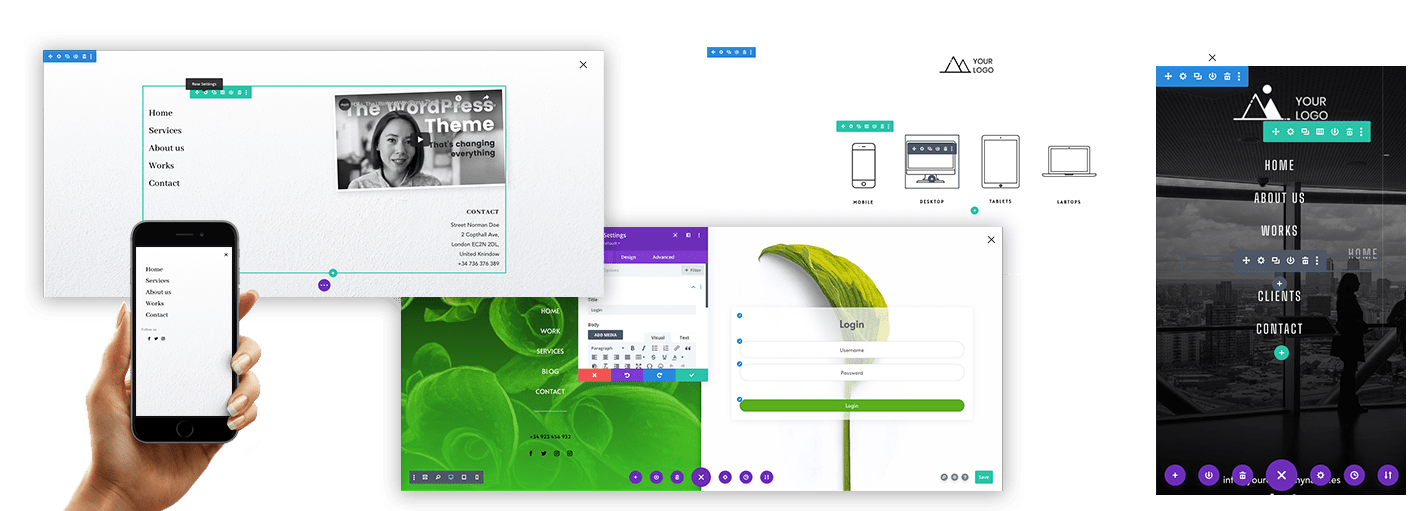
Create and design your Divi menu as you create any other section, using the fantastic Divi Builder.
Description
By default, Divi comes with a wonderful built-in menu options. But, what if you want to build your custom menu with the Divi Builder?
That’s exactly what you can do with Divi Supercustom Menu. Just create a new menu and begin to add anything you want to it.
![]() Do you want to show a video in your menu?
Do you want to show a video in your menu?
![]() Do you want to include a login in your menu?
Do you want to include a login in your menu?
![]() Do you want to put images in your menu links?
Do you want to put images in your menu links?
….
Yes!! You can do all of this and anything you imagine with Divi Menu Builder
1 – Installation
Once we have our WordPress installation with Divi working, we have to install the plugin.
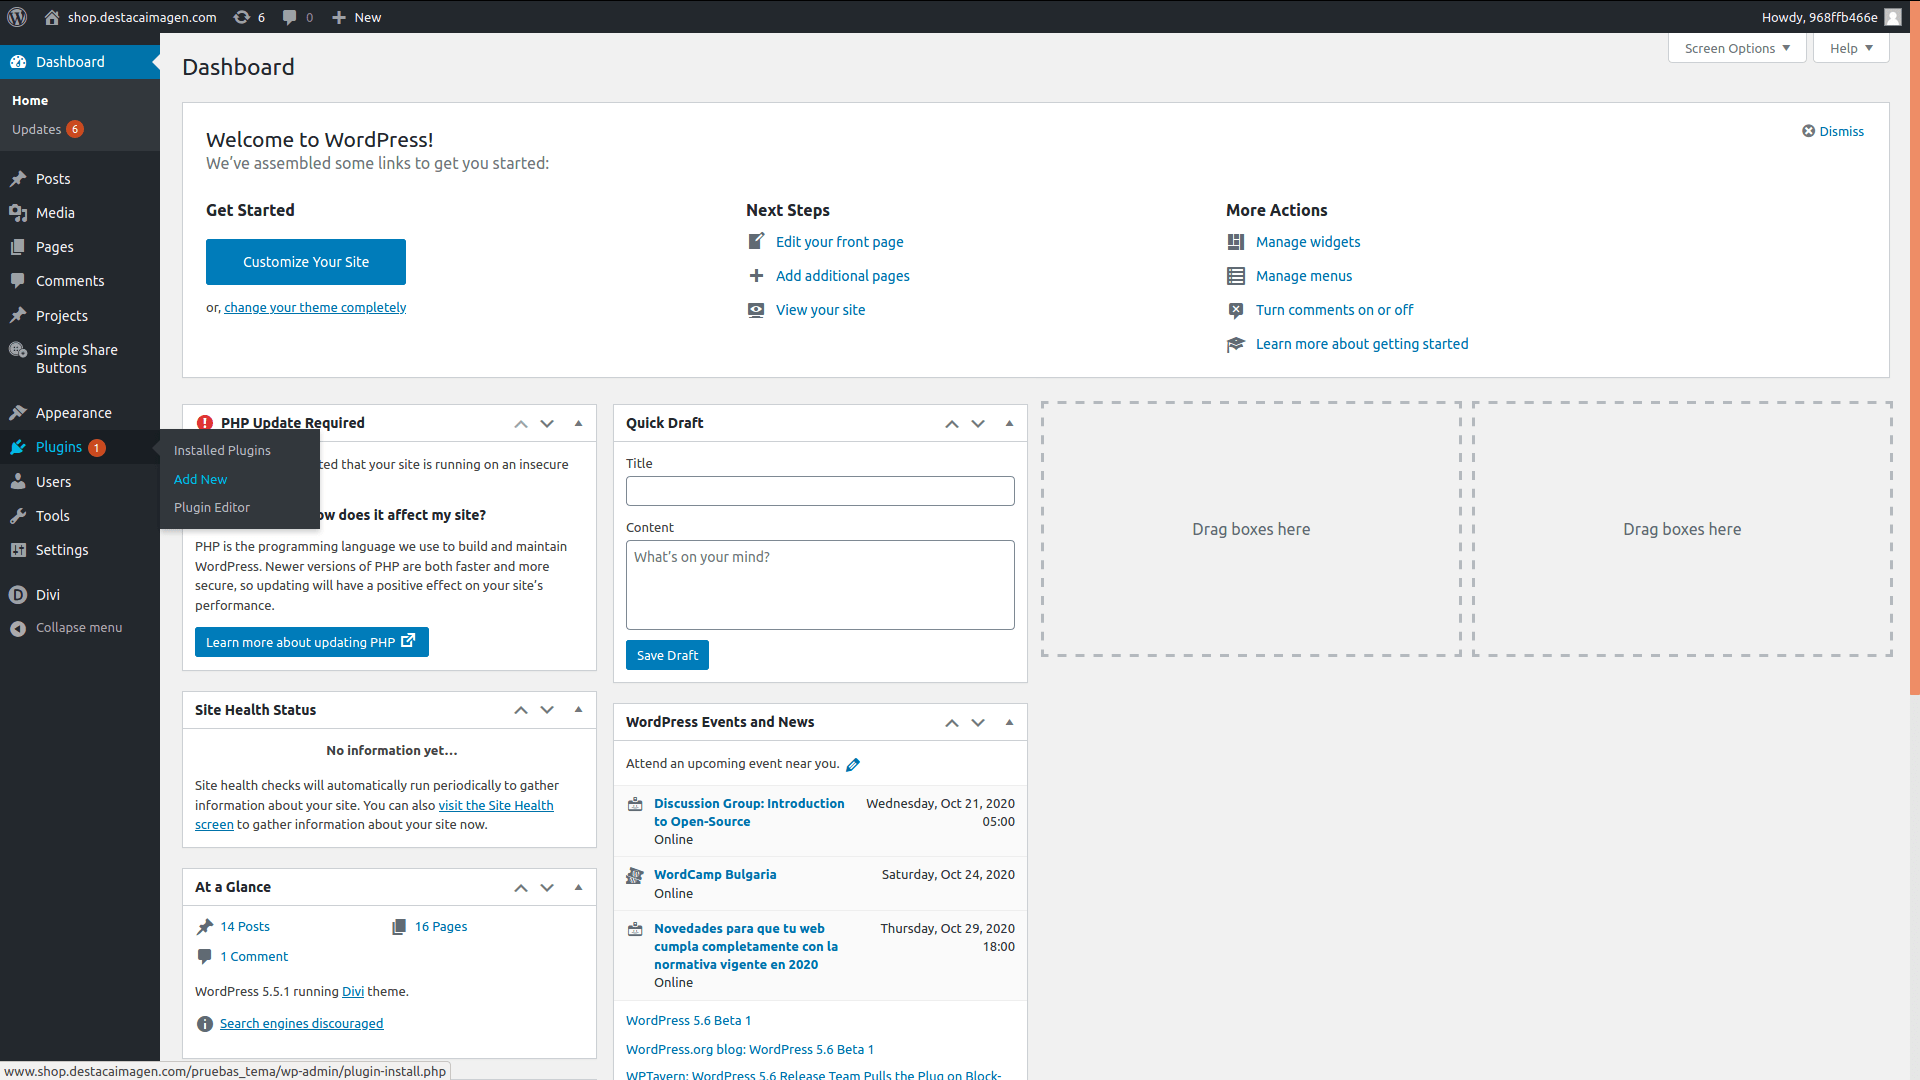
1. In your admin dashboard, go to Plugins > Add new.
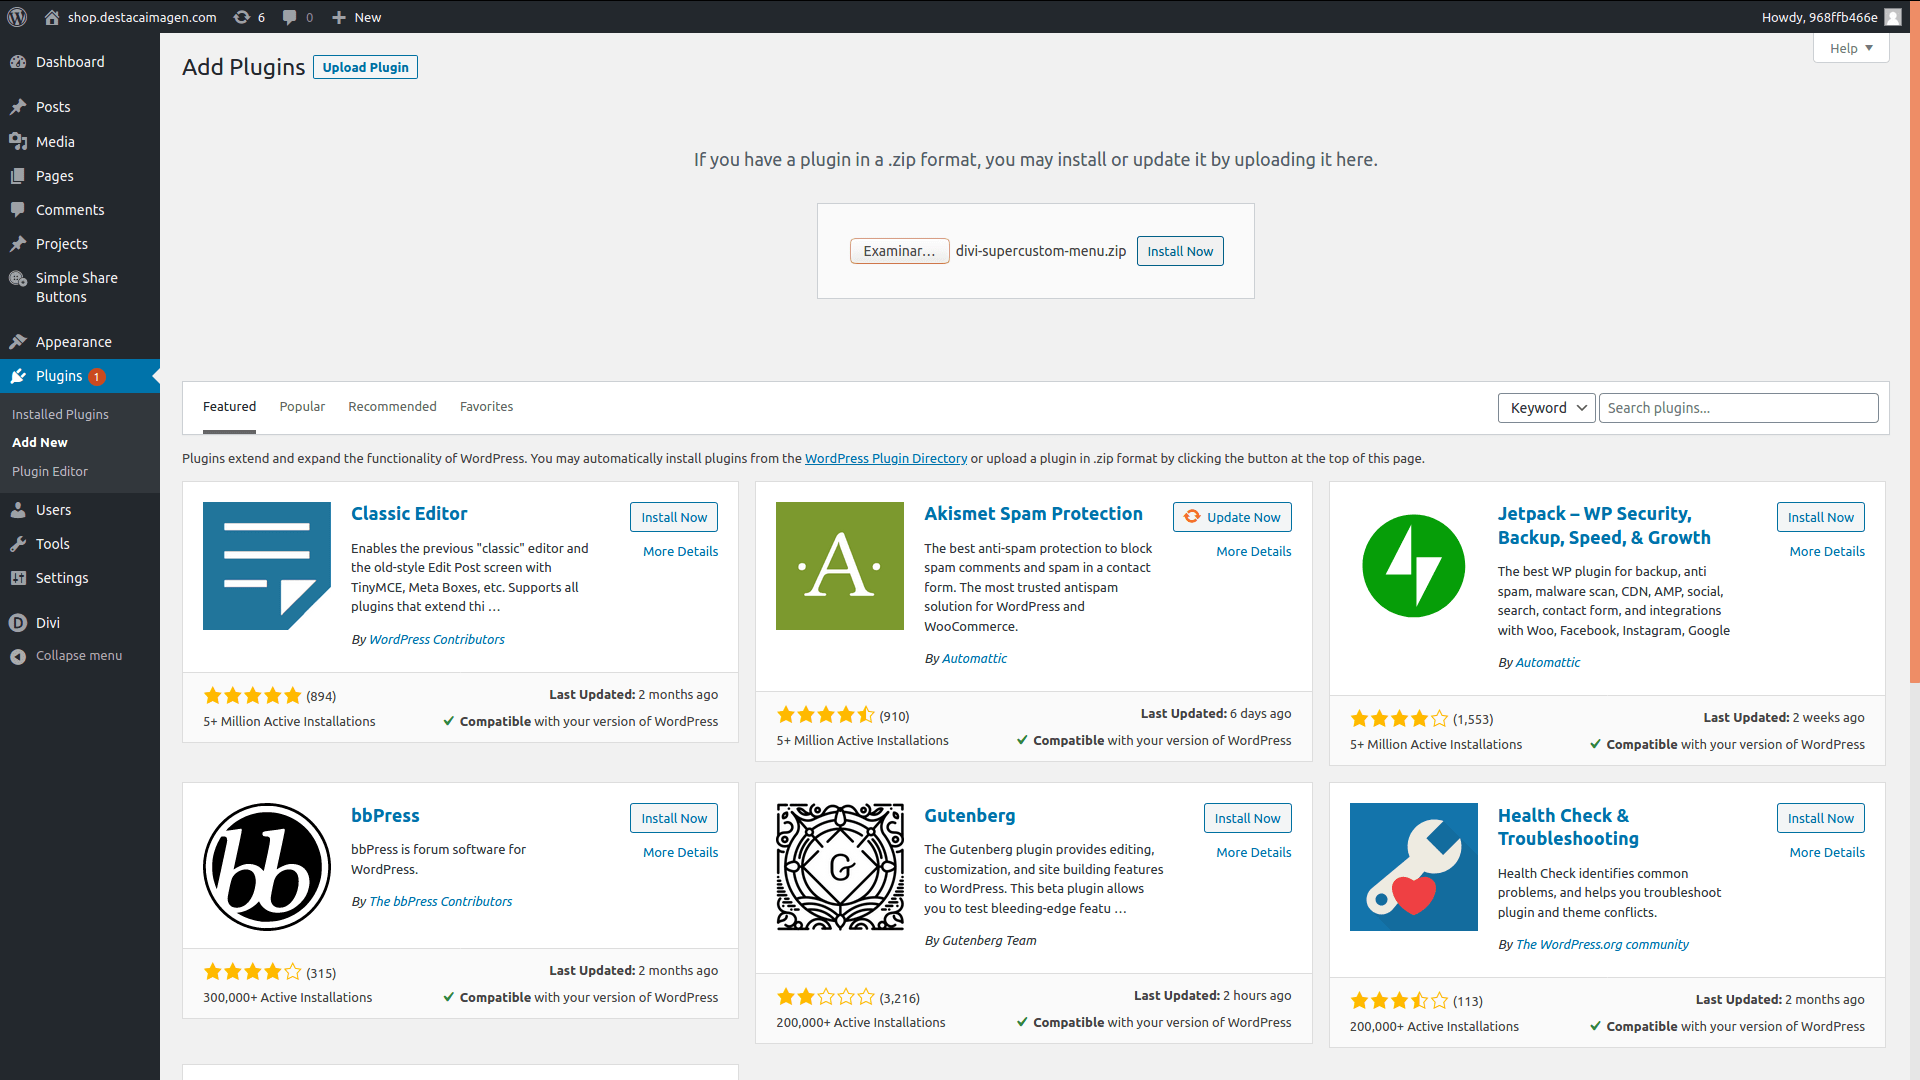
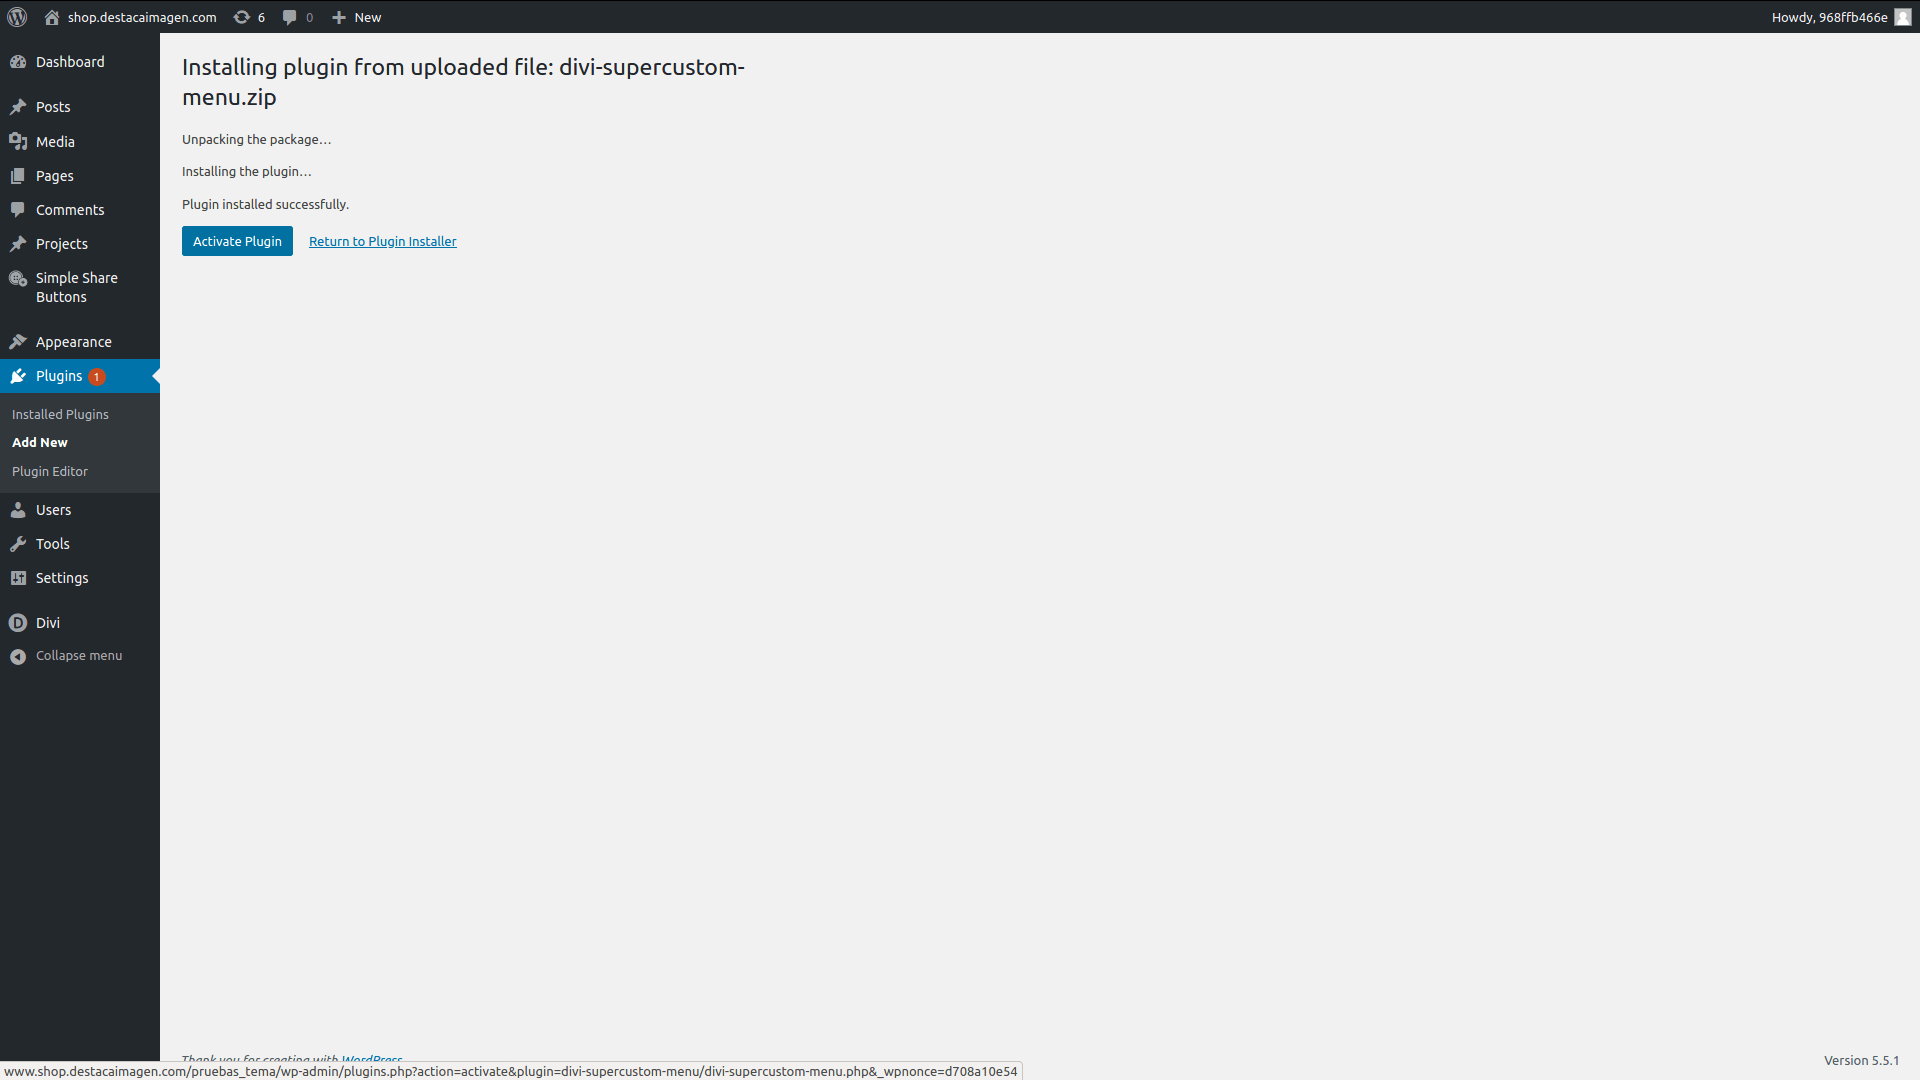
2- Click Upload Plugin button, and in the form that appears, select the plugin .zip file and click Install Now.
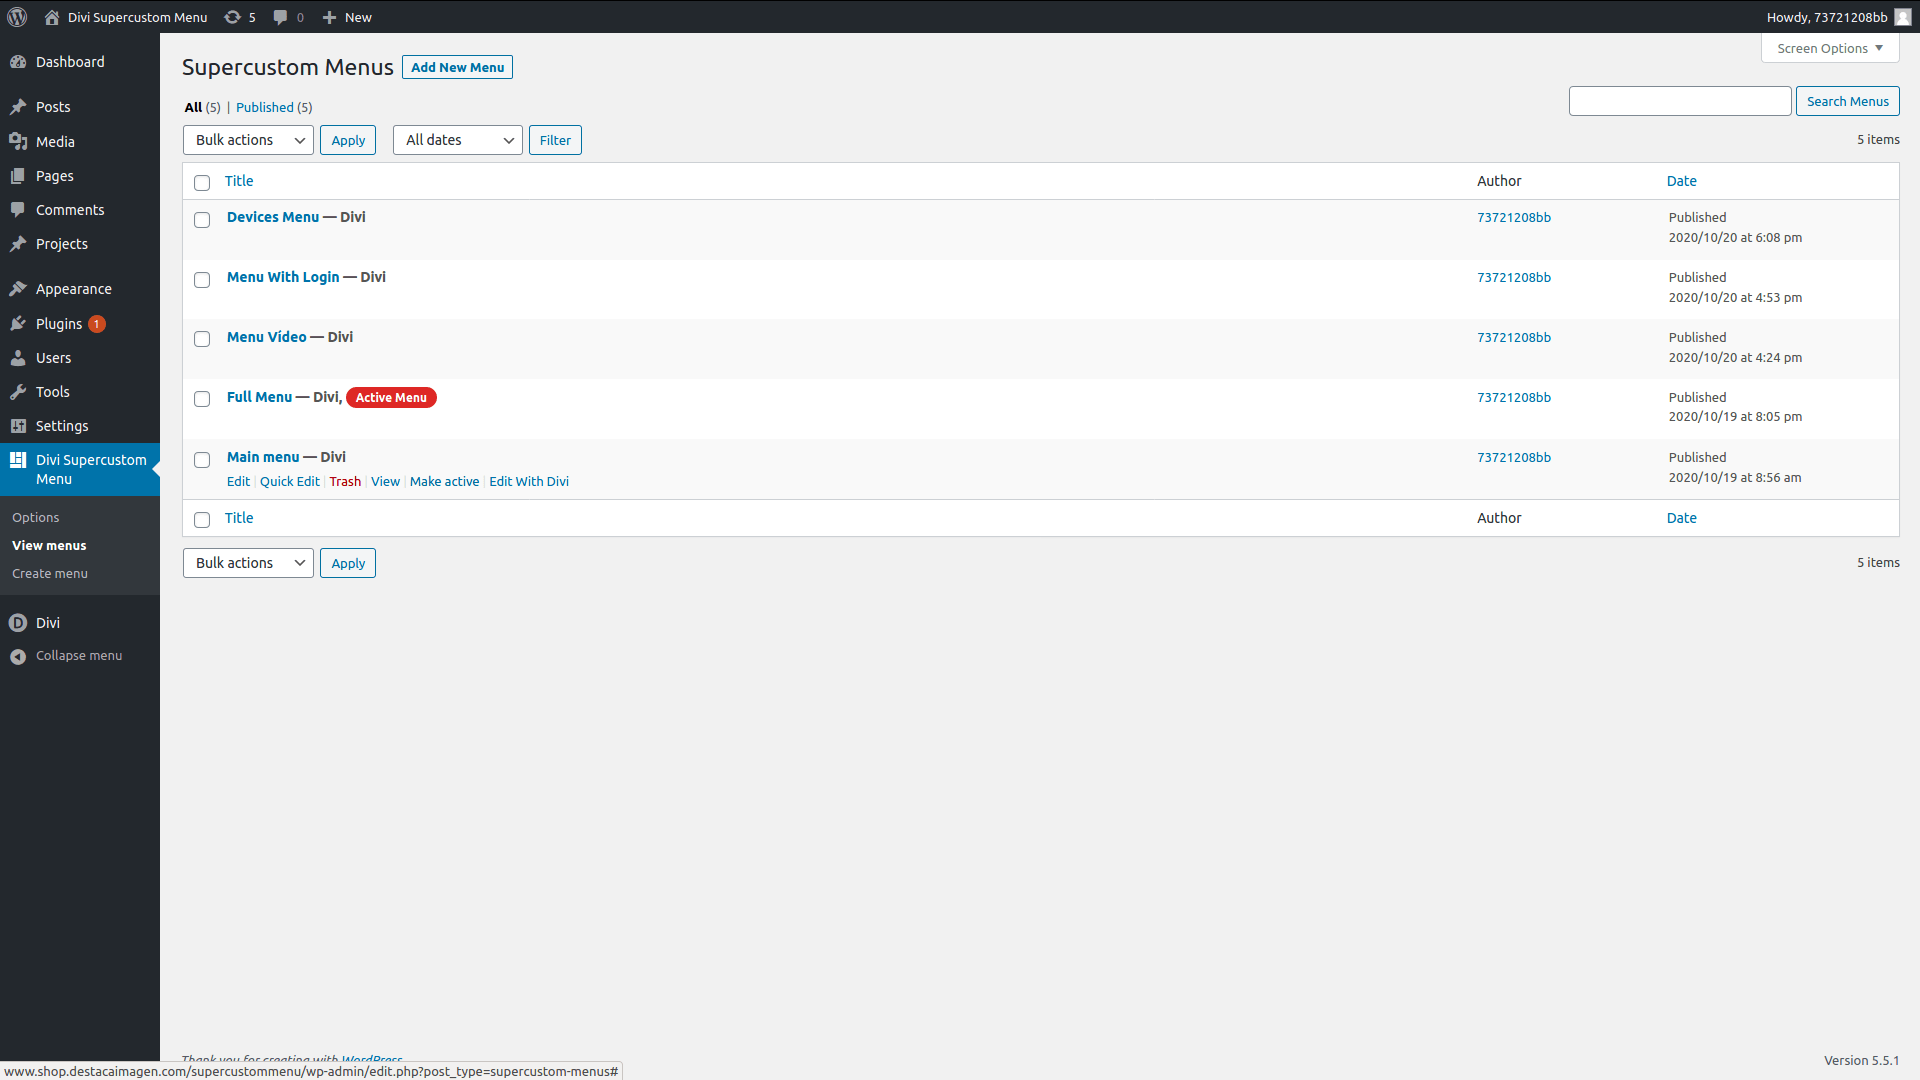
Now you can see that a new Menu option has appeared with the title ‘Divi Menu Builder’.
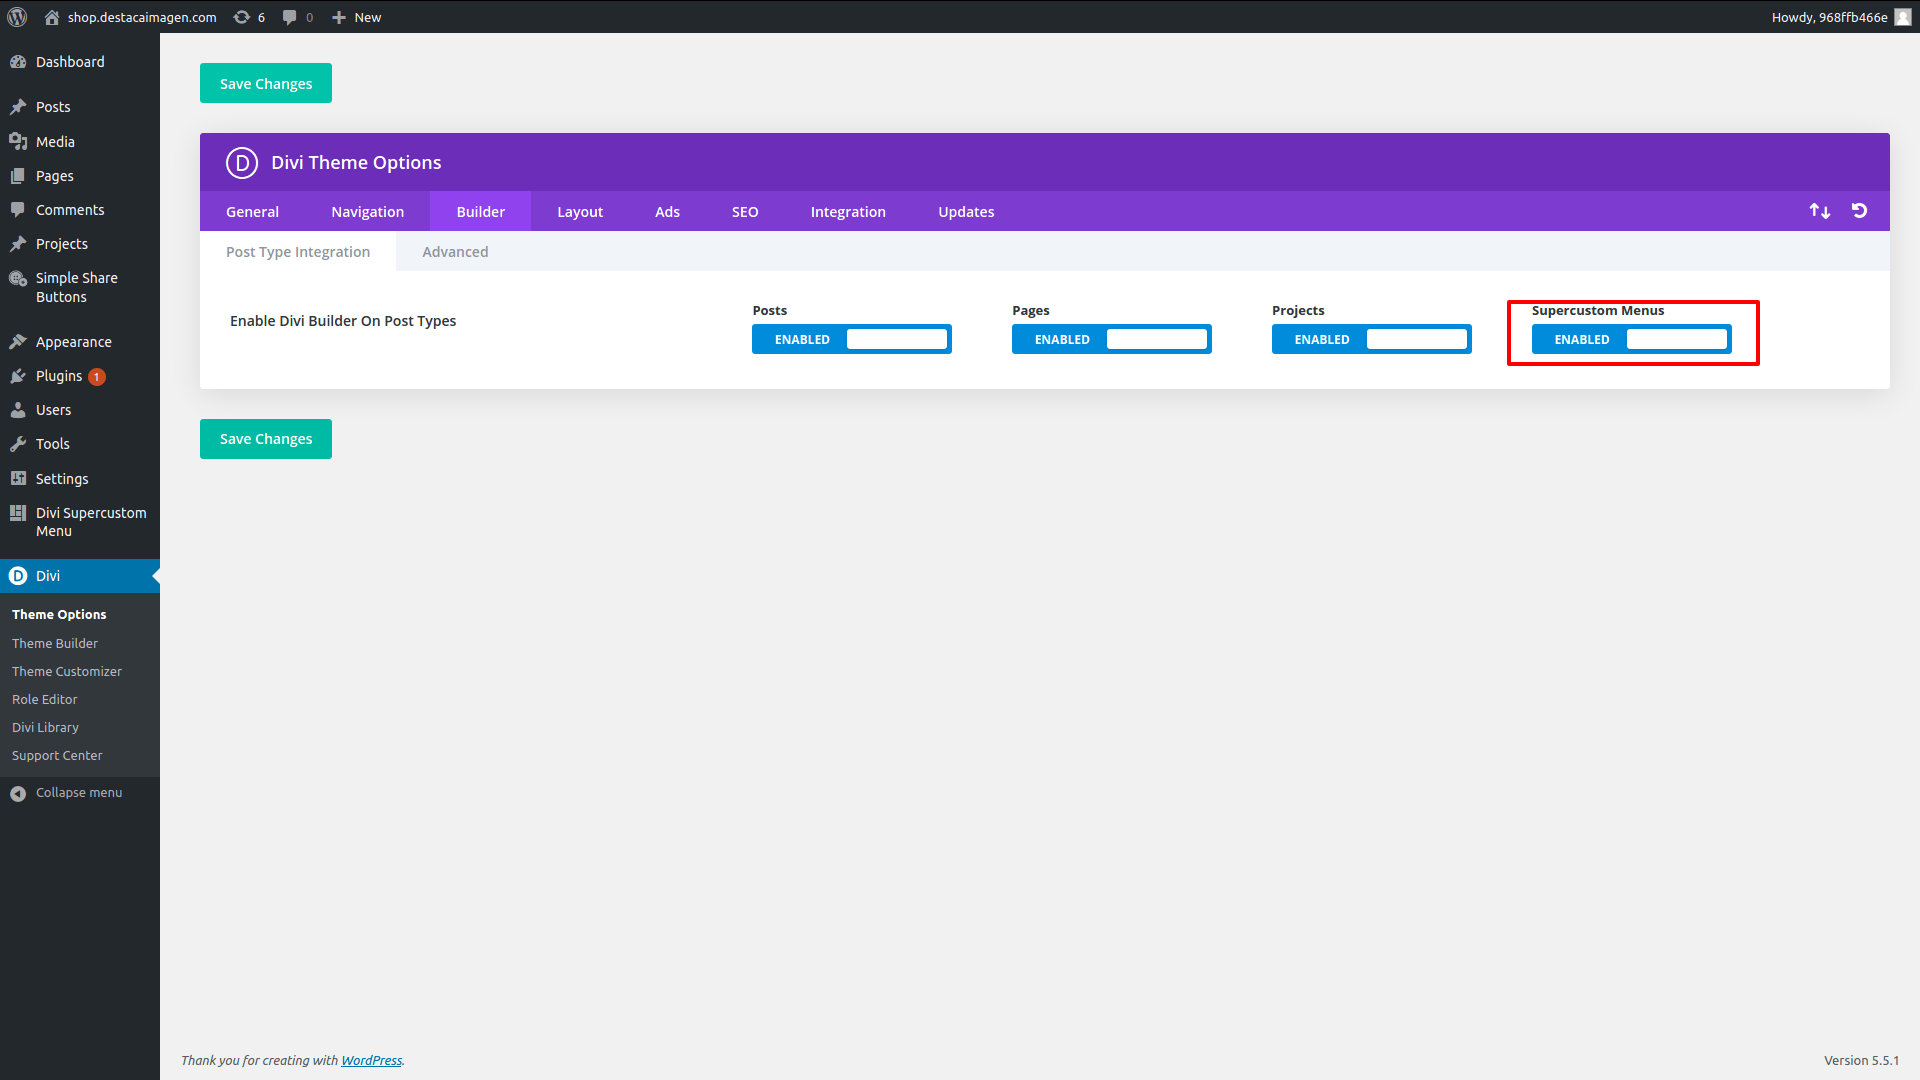
4- Before start building your menus, go to Divi > Theme Options and in the tab Builder, enable the option Supercustom Menus.
2.1- Configure Divi Header and Navigation for Divi Menu Builder.
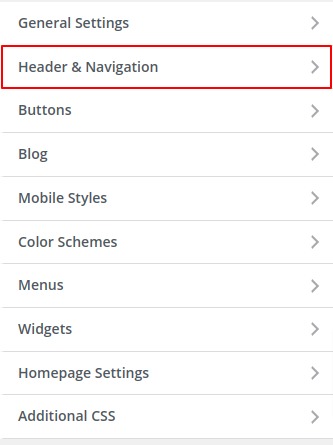
Now you have to configure Divi Header to open your Menu. To do that go to Appearence > Customize > Header & Navigation.
Now click the option Header Format and select ‘Fullscreen’ as Header Style.
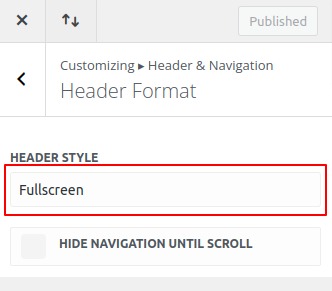
After this, your custom menu will be prompt with the default Divi’s hambuguer menu icon. Now you can continue reading 3- Creating your menu.
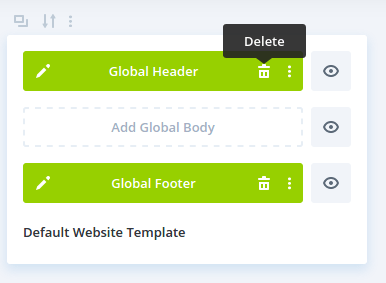
If you can’t see the Header & Navigation option like in the previous image, you won’t be able to activate the ‘Fullscreen menu’. That is because you already have a Global header created in your Divi Theme Builder. If this is your case, you will have to use option 2 and create your own Menu Trigger button. Read Create your custom button to open Divi Menu Builder.
2.2- Create your custom button to open Divi Menu Builder
If you are using a custom Globla Header in your Divi Theme Builder, you will need to add the button to open your menu.
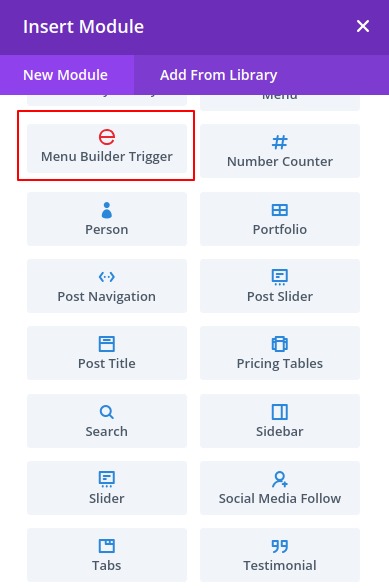
Once you activate Divi Menu Builder, you will see a new module in the Divi Theme Builder called “Menu Builder Trigger”.
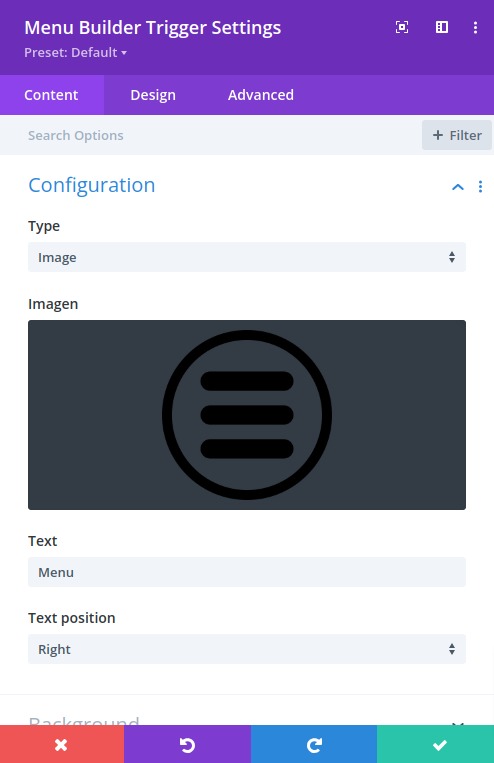
Add this module to create the control that opens your menu. You will be able to customize this control with these options.
- Type: choose between uploading your own image or use a default hamburguer icon.
- Image: If you select type image, upload here the image you want to use.
- Text: Complete with any text you want to display with your icon/image.
- Text position: Position where you can place your text.
Once you have customized your menu trigger, save your design.
Now everything is ready. You can go to Divi Supercustom Menu > Create menu and creat your amazing menu.
5- Other options.
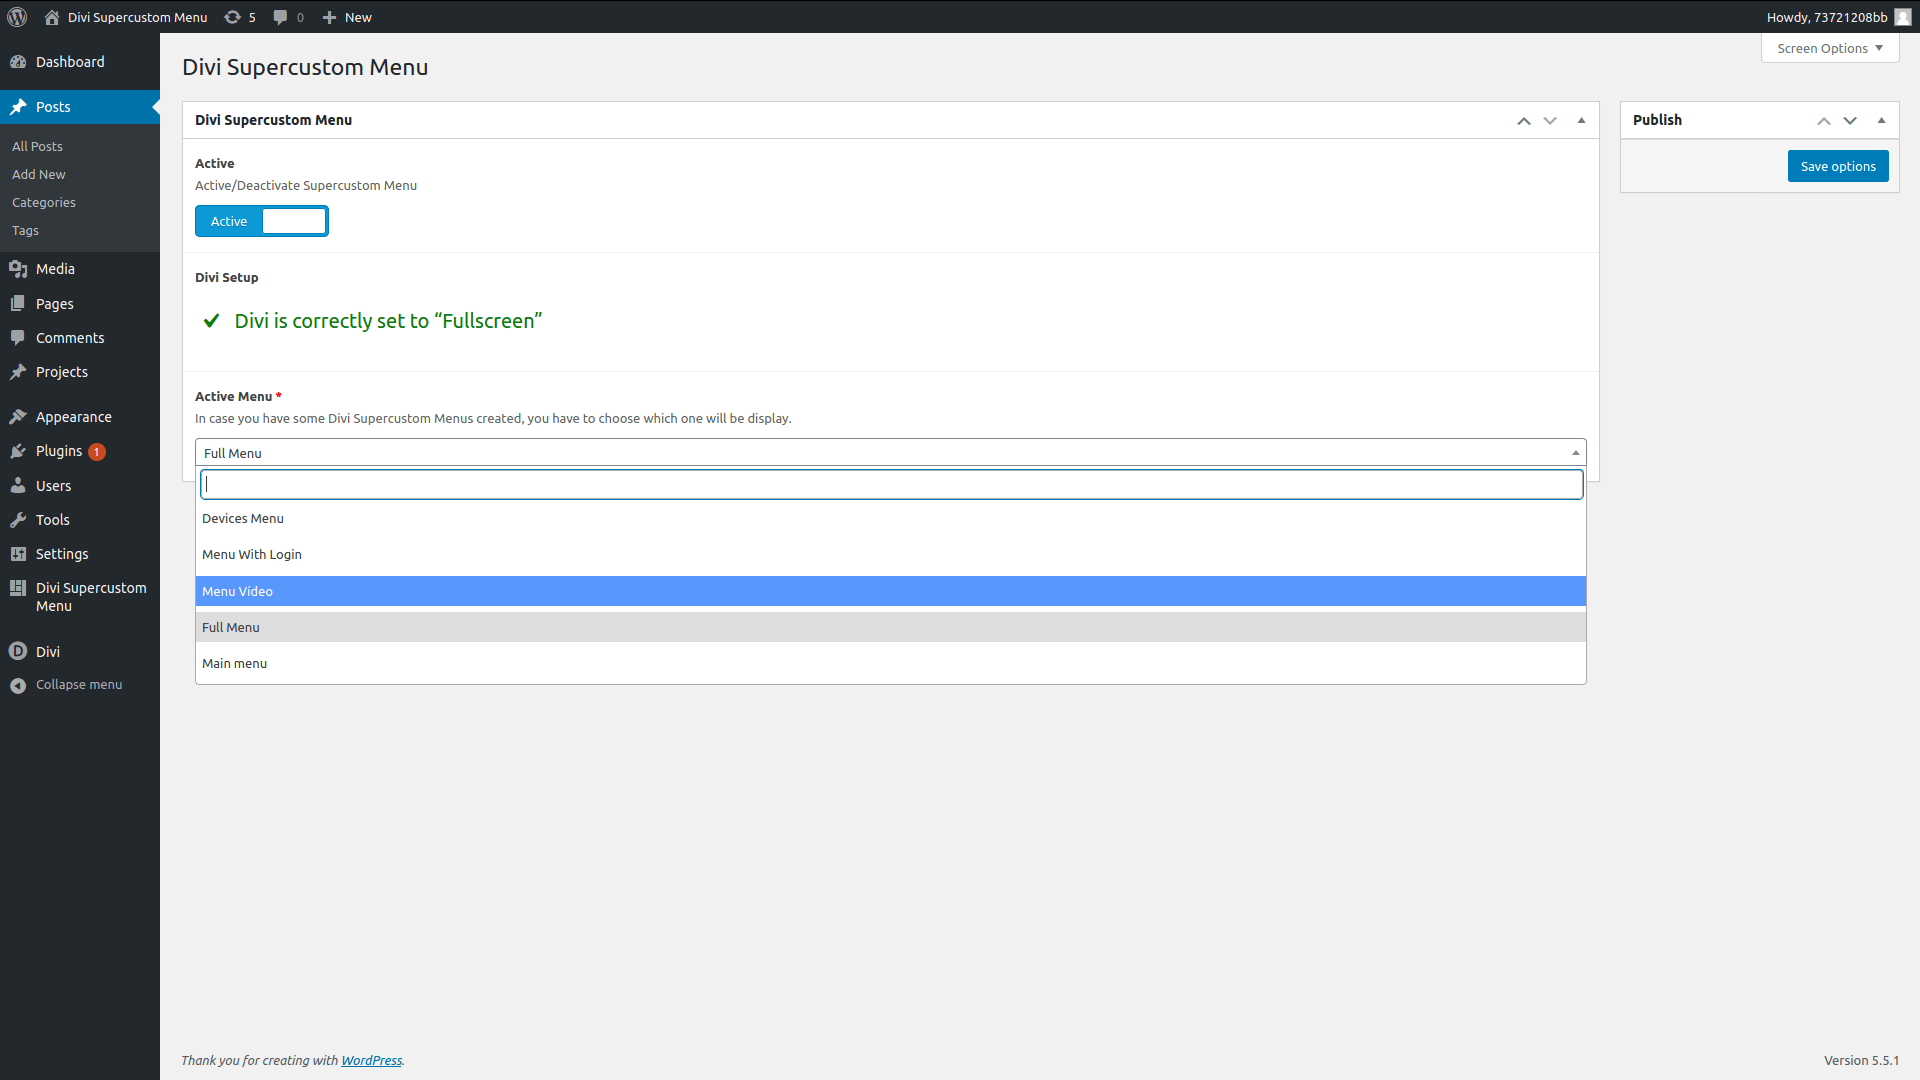
On the page Admin Panel > Divi Menu Builder > Options you can find some extra options to customize your menu.
- Close menu color: Pick the color for the ‘X’ icon that closes your menu.
- Background close menu color: Pick the color fo the background of the icon that closes your menu.

