ULTIMATE BLOGS
DOCUMENTACIÓN
First of all we want to thank you your purchase.
We hope you enjoy this layouts and help you achieve your goals. If you have any doubt or suggestion you can write us to support@destacaimagen.com
Tutorial (English)
Tutorial (Español)
Layouts
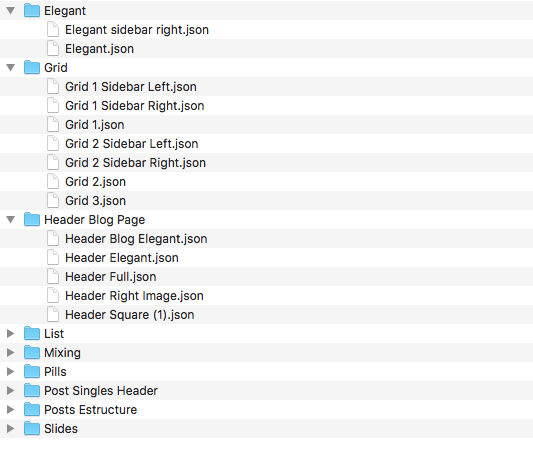
In the zip file you can download from Elegant Themes or from your user account panel you will find all the layouts organized by folders that are part of this pack.
Before you begin
Things you have to keep in mind…
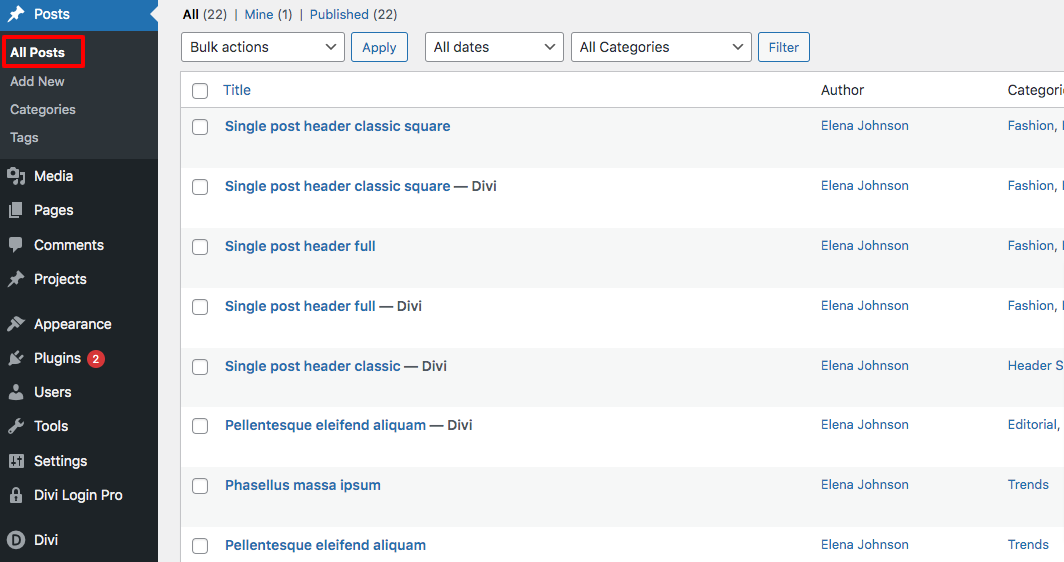
You need to have post created to make these layouts work:
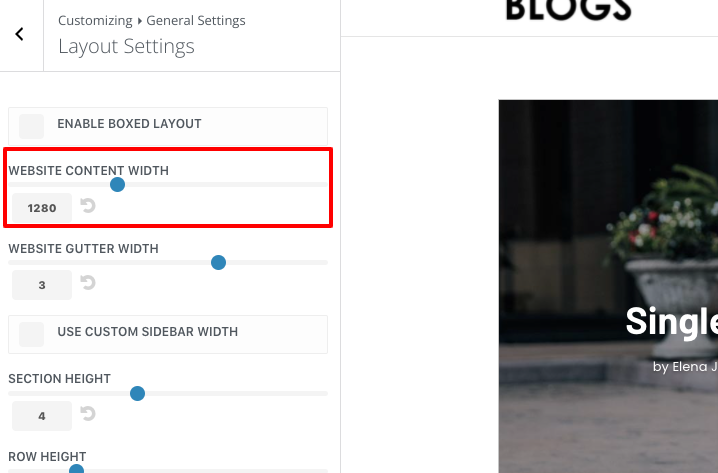
We also recommend that you configure your website to have a minimum width of 1280px
Create the blog page
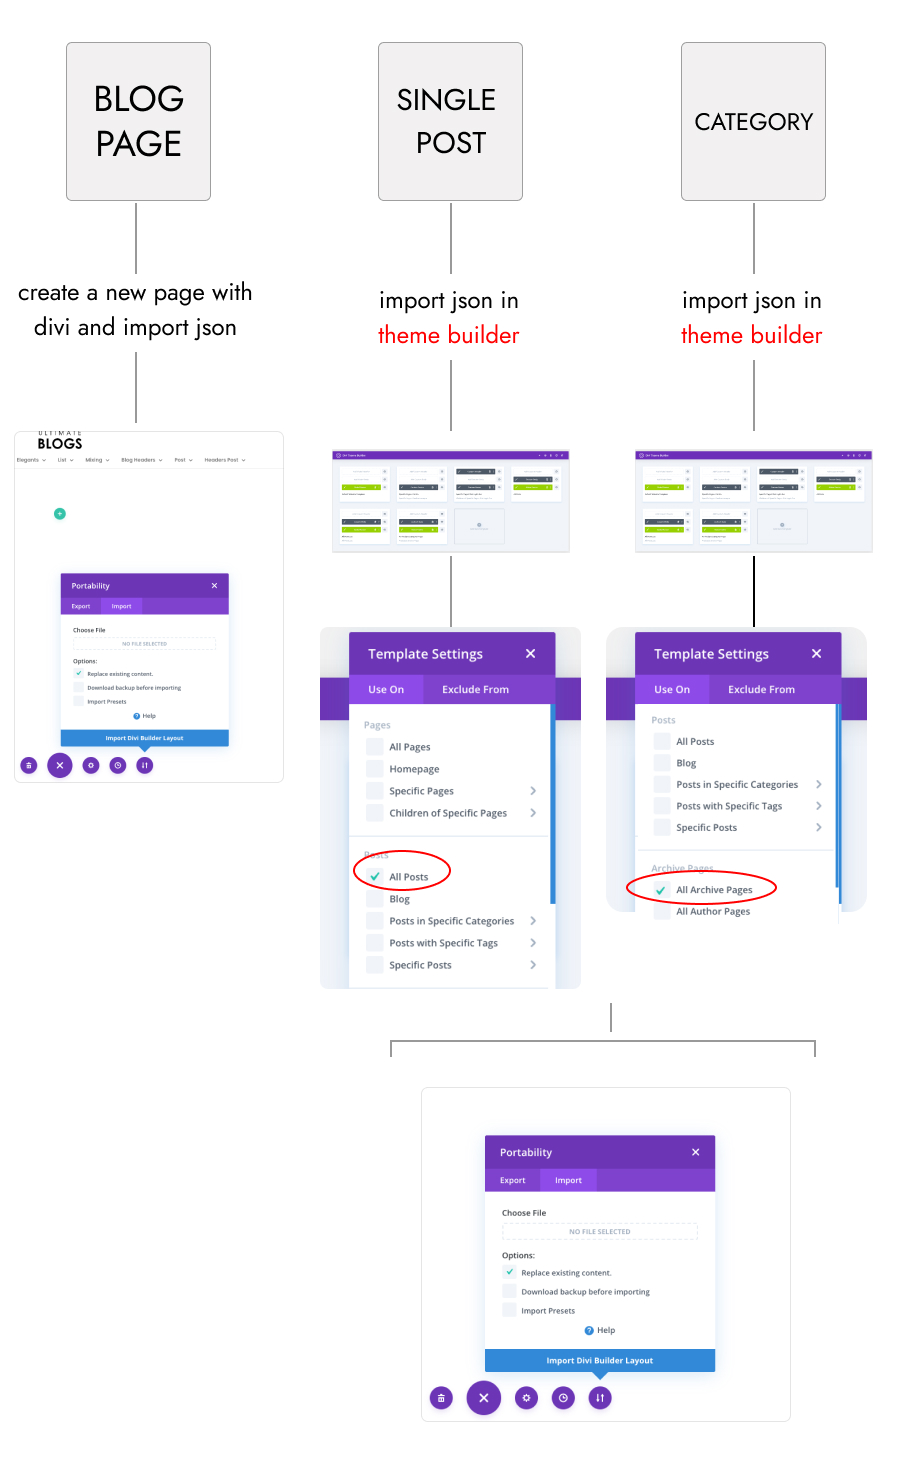
Create your blog page is very easy. To do this you will only have to create a new page, select the template that you like the most and import it through the Divi builder. You can see how to do this in this video.
Edit or change the header of your blog page
Ultimate blog has some extra headers for the blog page that you can combine as you like. To add one of these headers the process is very similar to the previous one.
Important: When you import the header you wan to use the option ‘Replace existing content’ has to be disabled like in this picture:
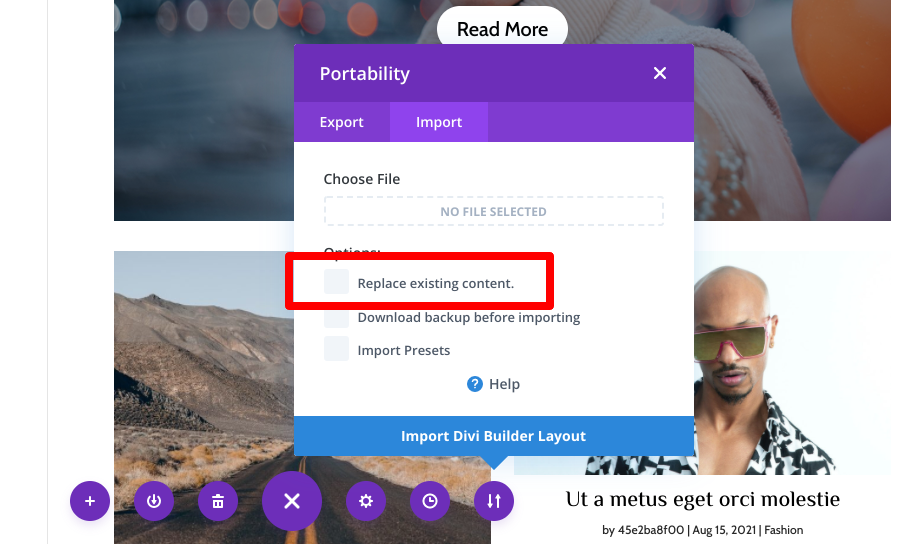
You can import new content and combine it as we show you in this video.
Import or create the template for your posts
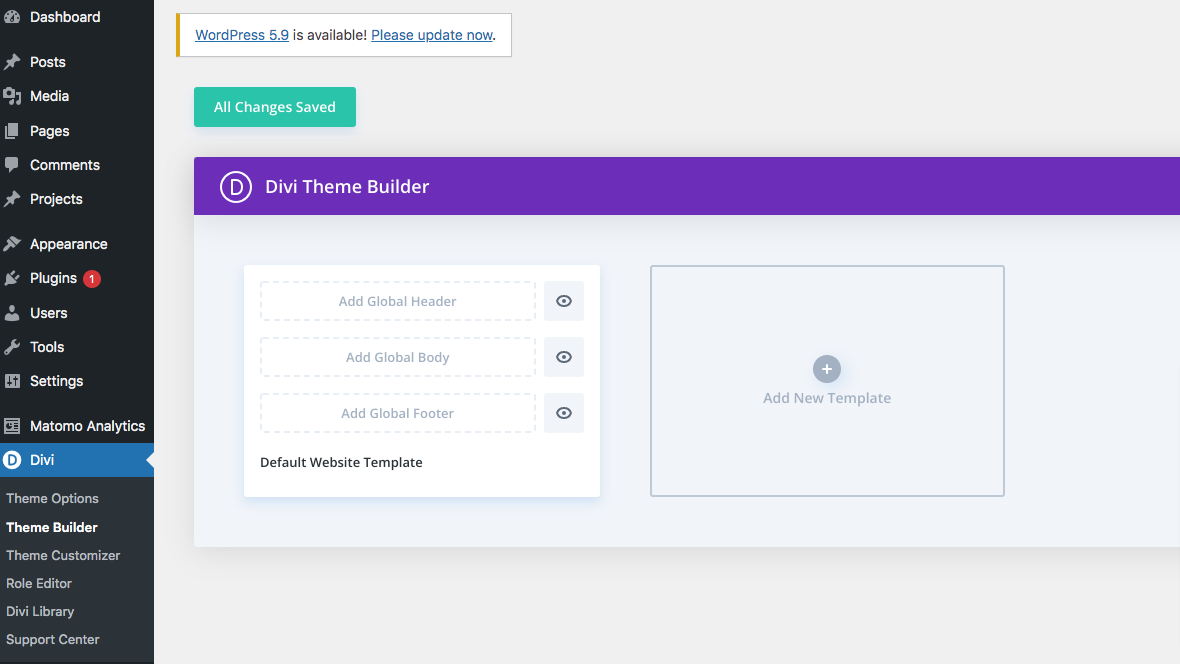
To create the posts template we have to do similar process like when we created our blog page, but this time in the Divi Theme Builder.
How to change the header for our post templates?
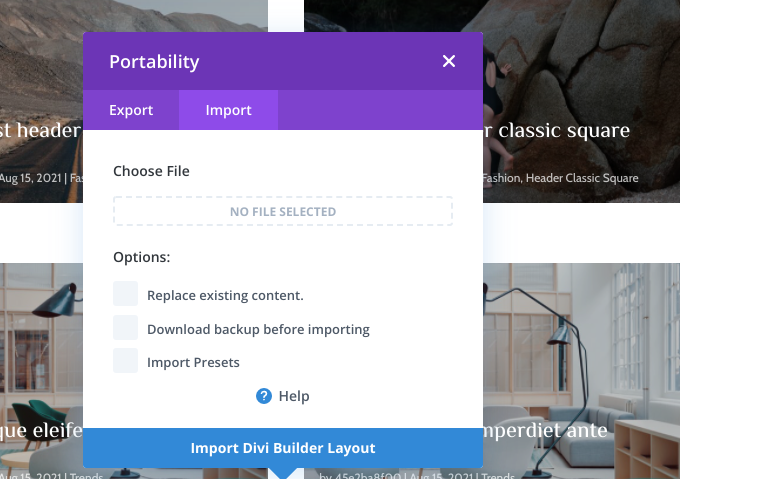
The process is very simple, you only have to import the header that you like the most and delete the one that is loaded by default. It is very important that when you do the import the option ‘Replace existing content’ is not selected:
Import or create the archive page
At this point you will have your blog practically configured and prepared. You just need to adjust the page that loads your posts by categories, author or date.
The process is very similar to the one we have followed in the previous videos, but some small adjustments will have to be made in the configuration of the blog module. You can see how to do this in this video:
Image sizes
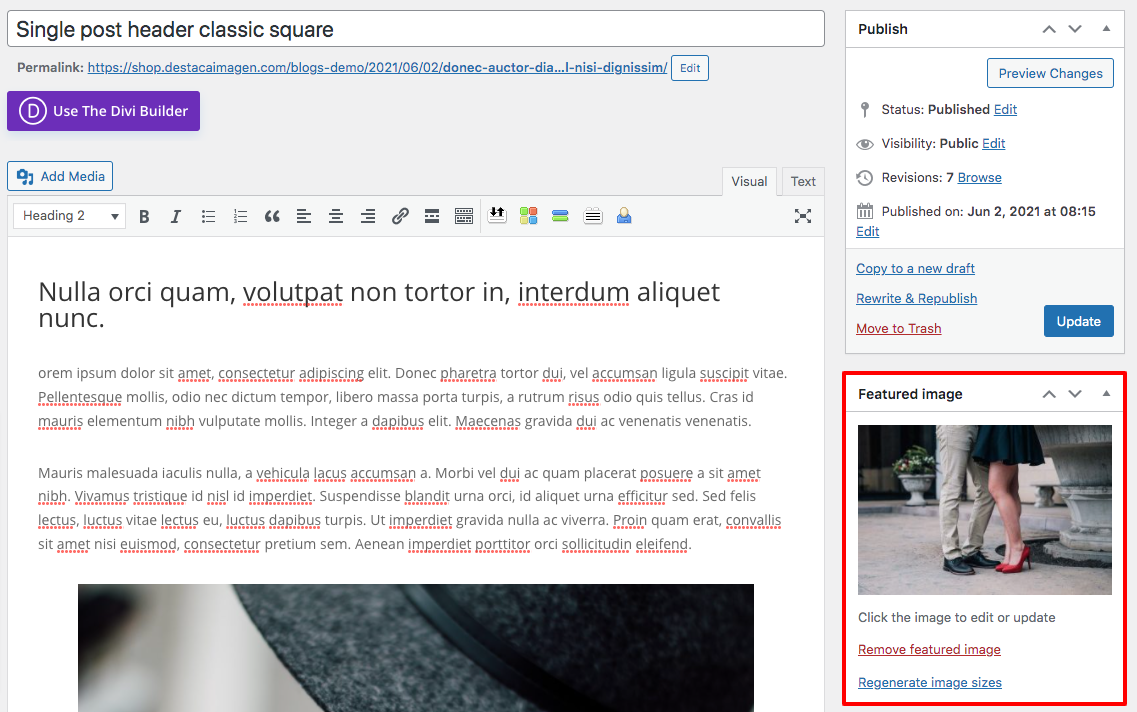
We recommend that you use the same size and aspect ratio for all featured images. These would be the ideal measurements 890px x 500px (Width x Height).
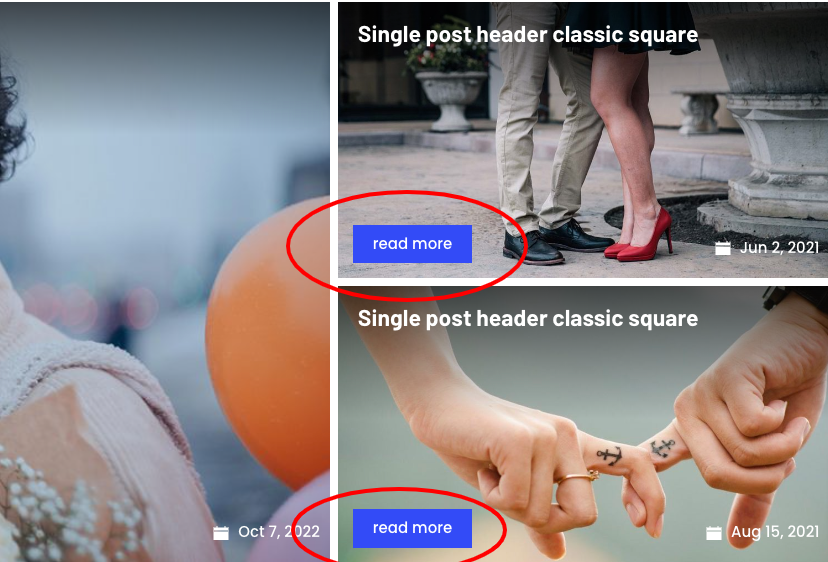
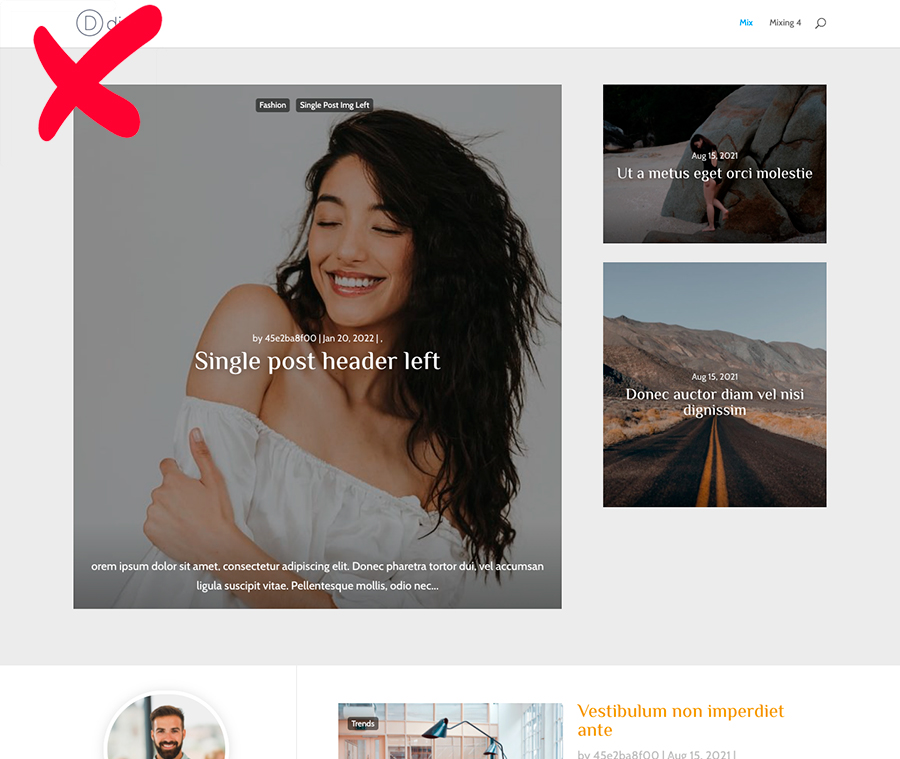
If you already have images uploaded to your blog and each one has a measure, it is possible that you will find a result like this:
How can you fix it?
You can force the featured size of your images with a plugin like this one:
https://wordpress.org/plugins/simple-image-sizes/
Download it, install it and activate it.
Once it is activated you will be able to force the size at which the images should be display in Settings / Media:
This plugin also allows you to regenerate the size of the images that you have previously uploaded. In this video we explain how. Warning! Save a backup of your site (web + database) before you do this.
Fonts and Colors
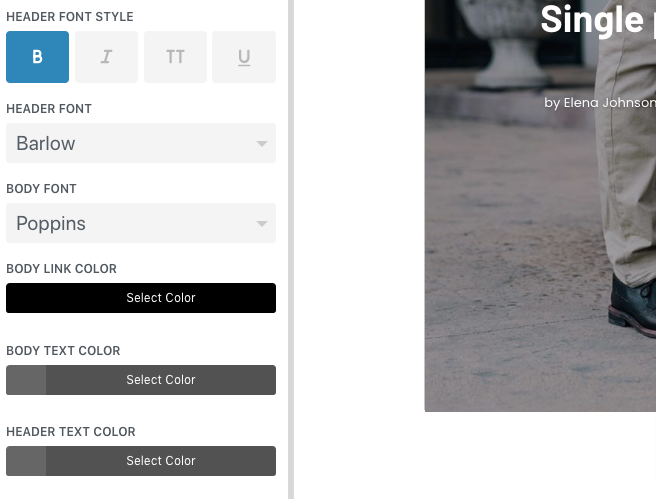
Customize the colors and fonts for your blog is as simple as changing Divi’s settings from Divi / Customize / General Setting / Tipography
Change the main colour
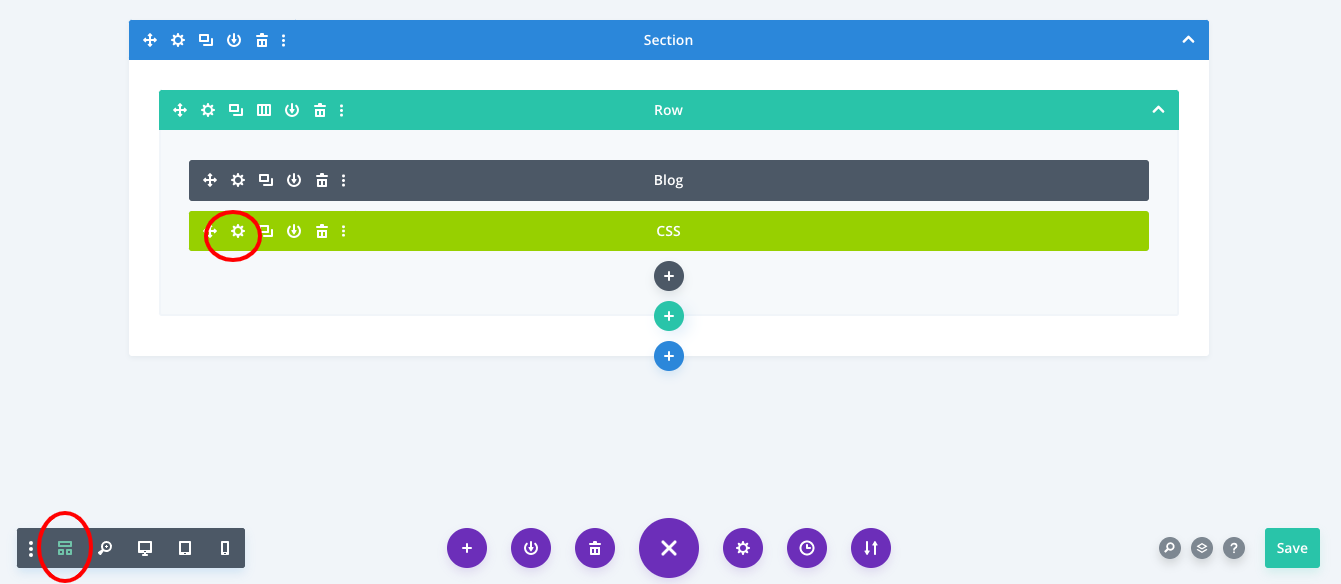
You can change the colour of the most elements, but for editing some buttons and details you’ll have to edit the css code, like this:
