Woocommerce Single Page Catalogue
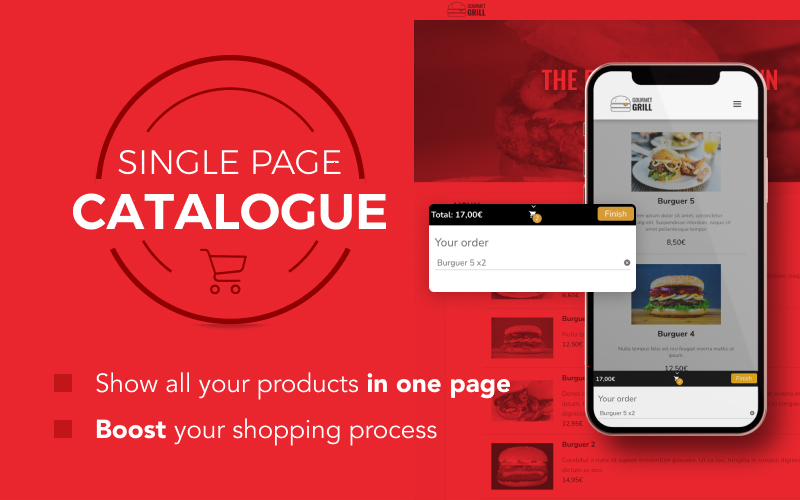
Show your full products catalogue in one page.
Documentation
Before you start
Woocommerce Single Page Catalogue works with Woocommerce, so before you install the plugin you will need to have woocommerce installed in your WordPress site.
How to install it
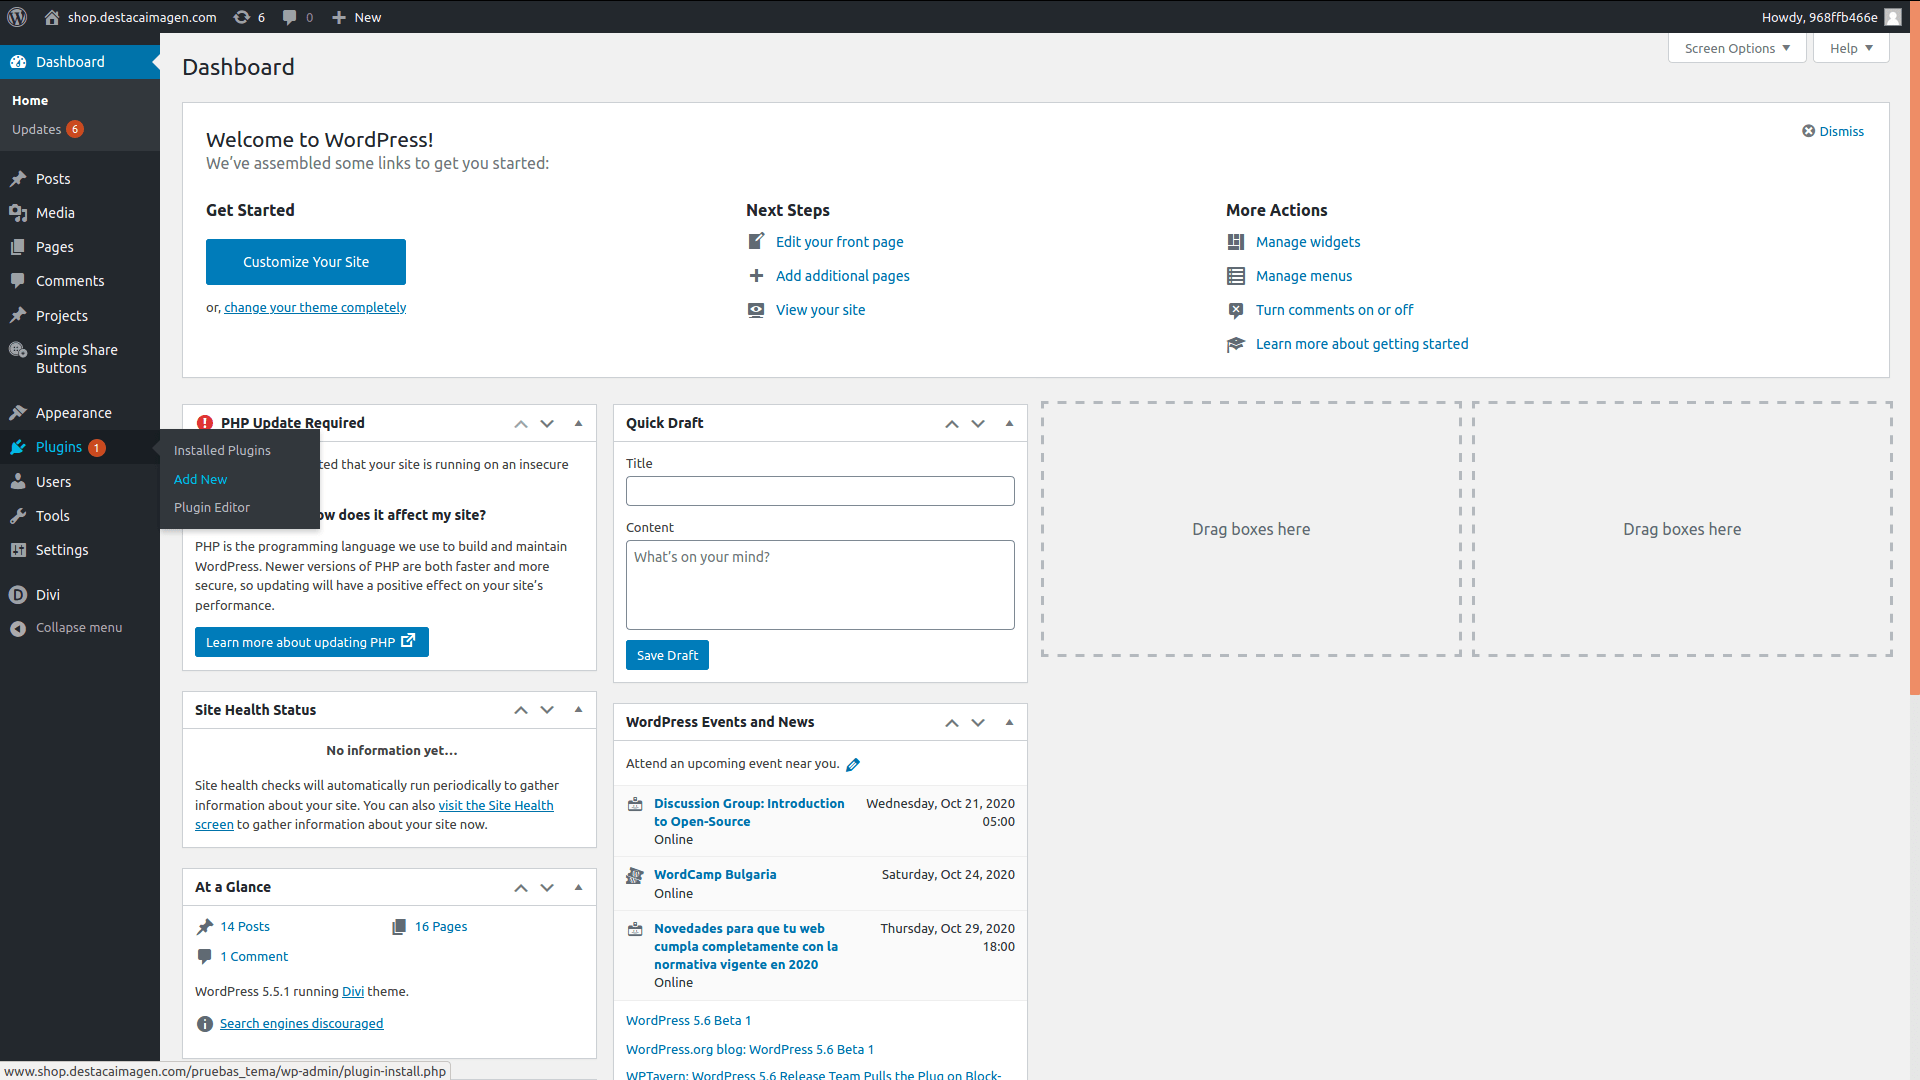
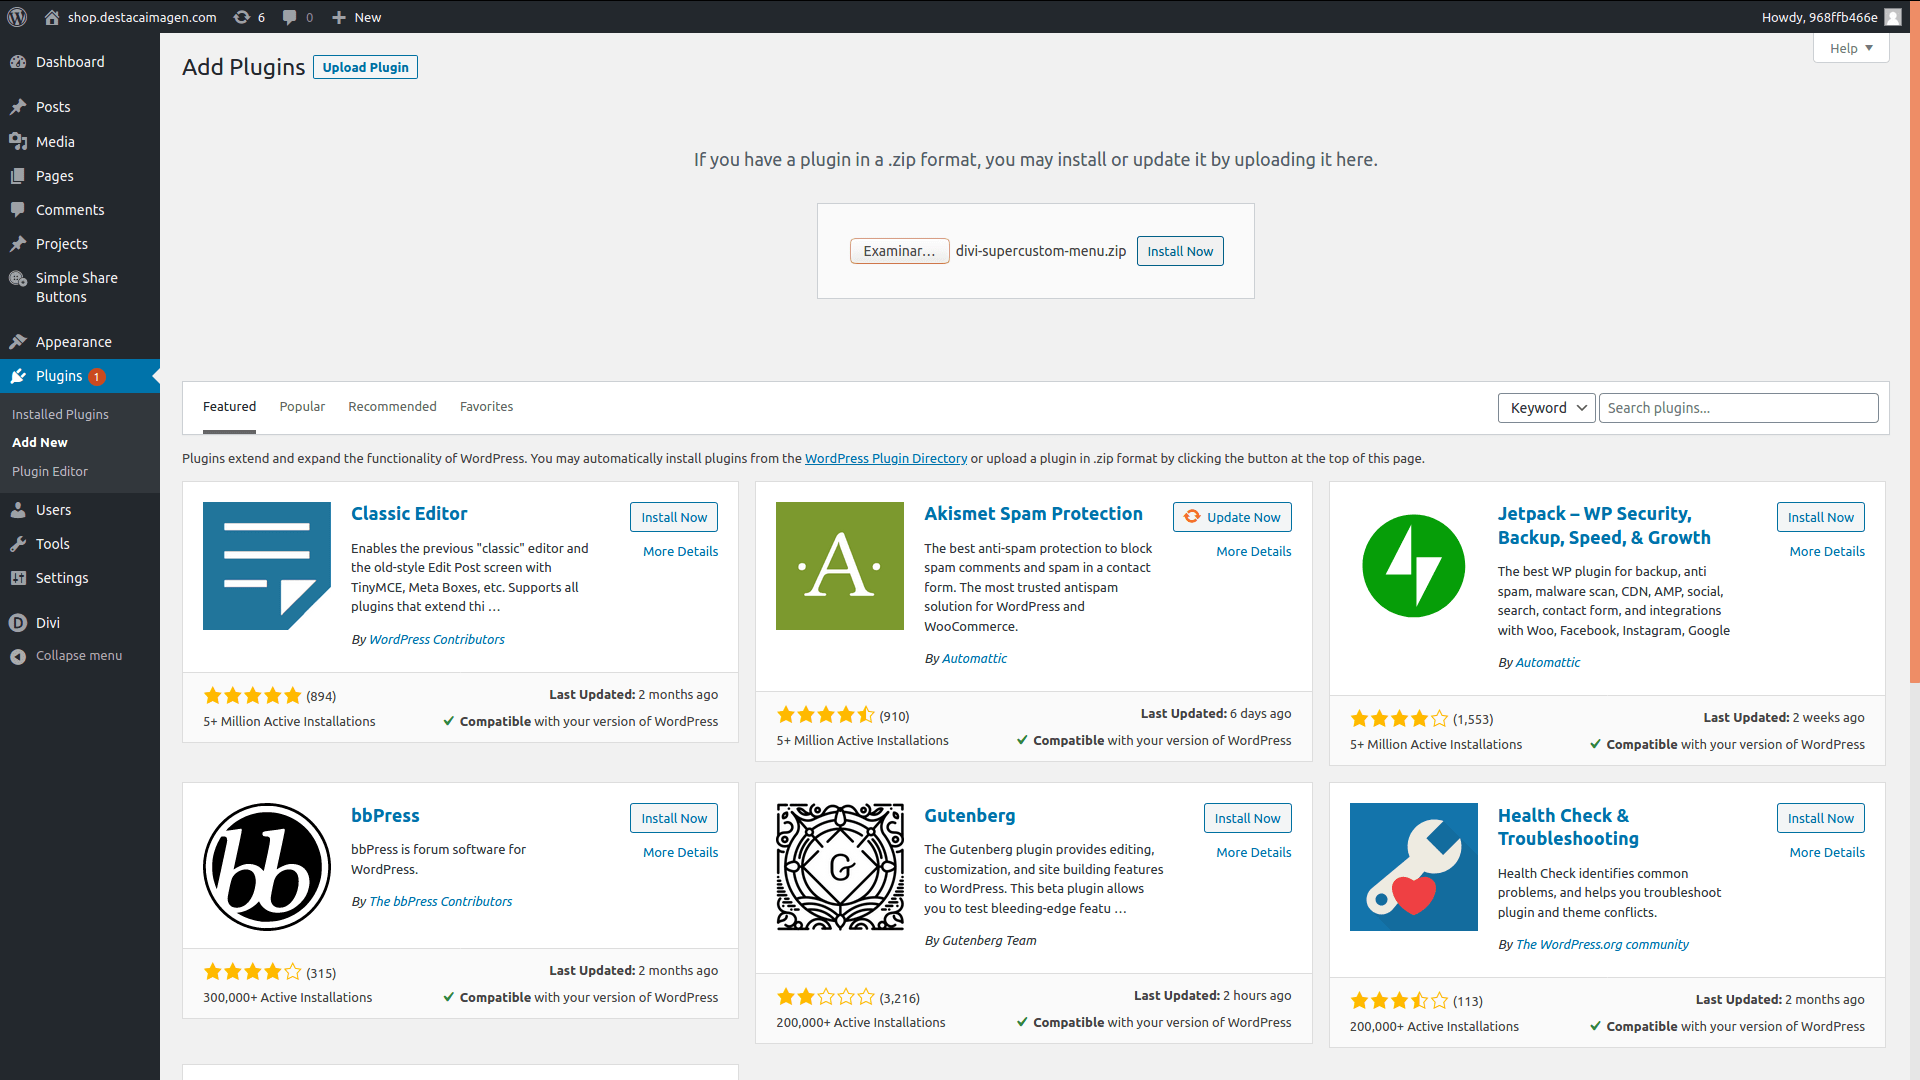
1. In your admin dashboard, go to Plugins > Add new.
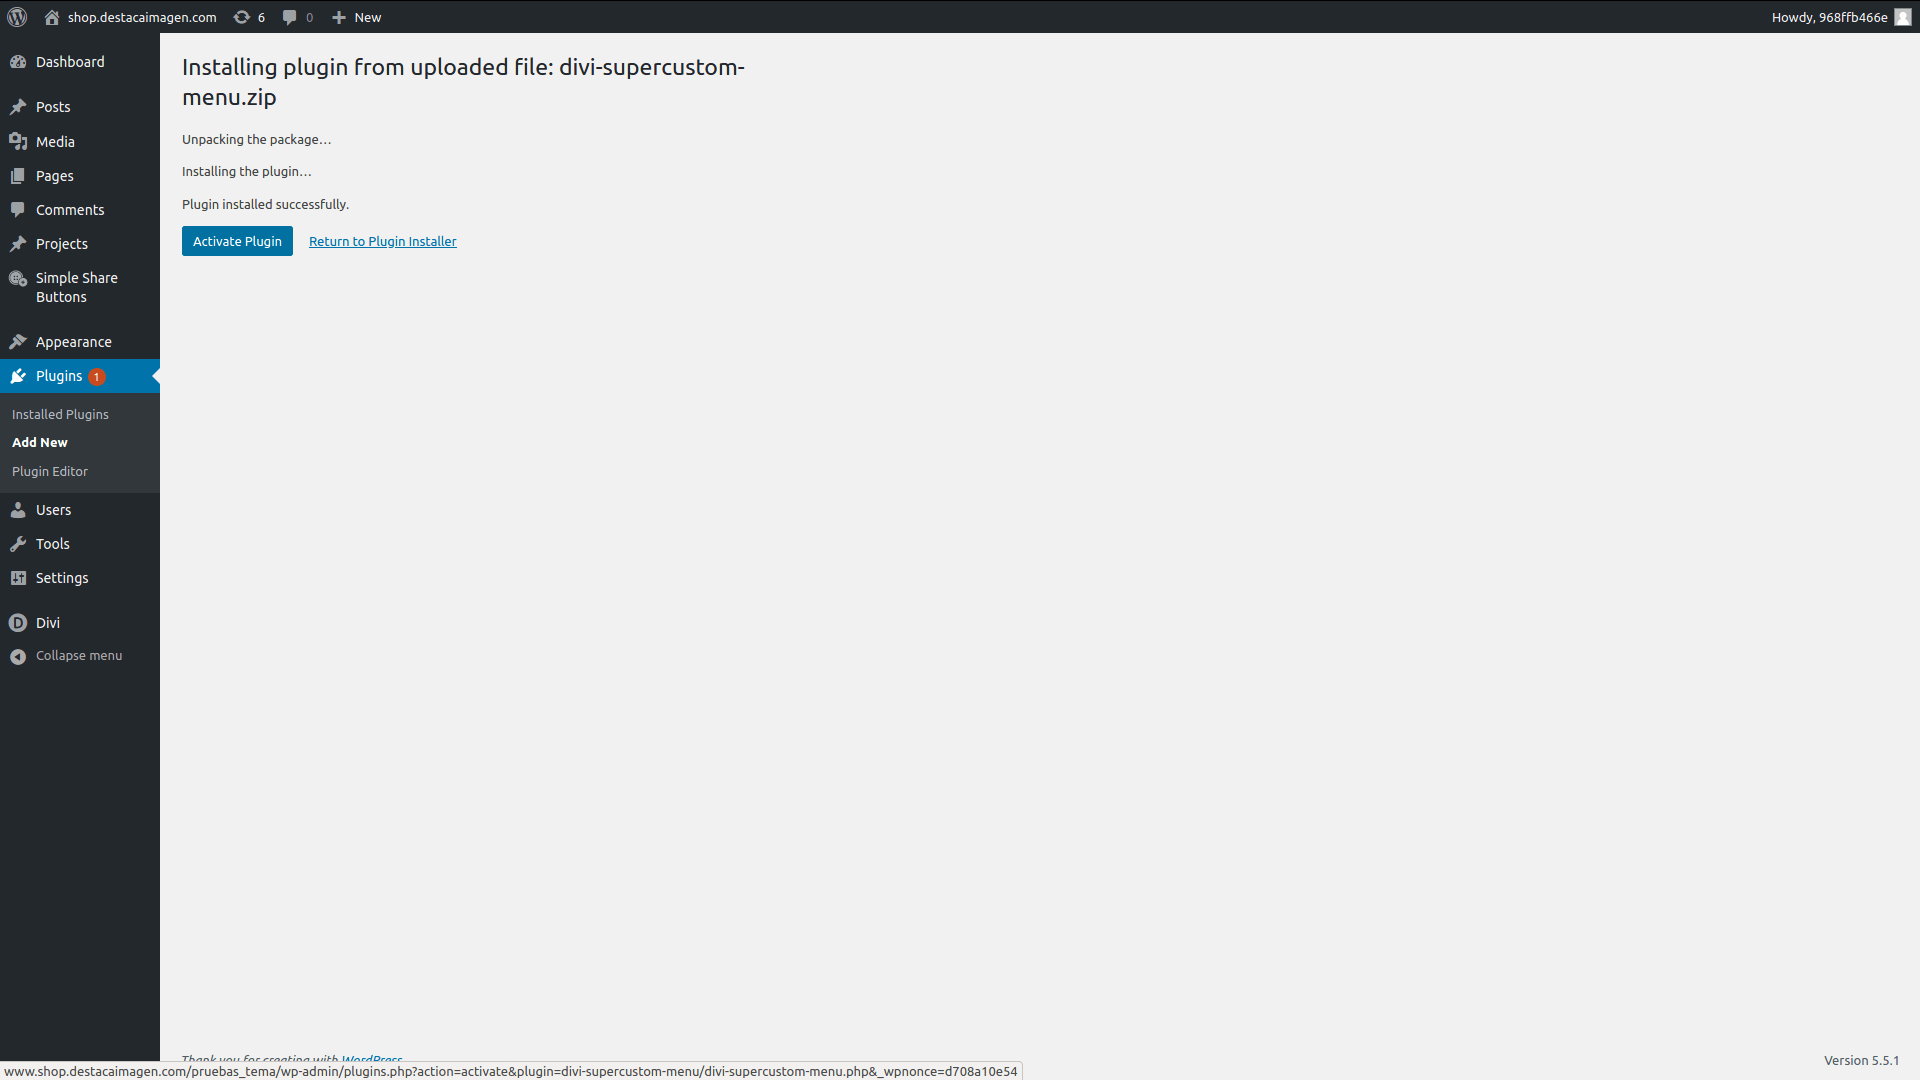
Once the plugin is installed and active, a new page would be created in your WordPress site called catalogue.
This page will display your full catalogue of products in it, along with the floating style cart.
Feel free to open this page with your favourite editor and change it, or even if you want to display your catalogue in other different page, remove it.
How does it work
Woocommerce Single Page Catalogue works with two different shortcodes:
[wcspc_catalogue_shortcode]
This will display your full catalogue of products in the site you add it.
If you want to display only some categories, you can add the optional parameter categories, with the list of categories you want separated by coma. It should look like this:
[wcspc_catalogue_shortcode categories=”35,36,37″]
This will display the products of the categoriers with ids 35, 36, 37.
[wcspc_cart_shortcode]
This sortcode will display the floating style cart in the page. Used along with the previous one, will allow your clients to add products to the cart without leaving the page.
If you want to only display the products on your page, without letting the user to add them to cart, just don’t use this shorcode in the page.
Plugin options
Once the plugin is active, a new page will appear in your Admin Panel > Woocommerce > Settings > Single Page Catalogue.
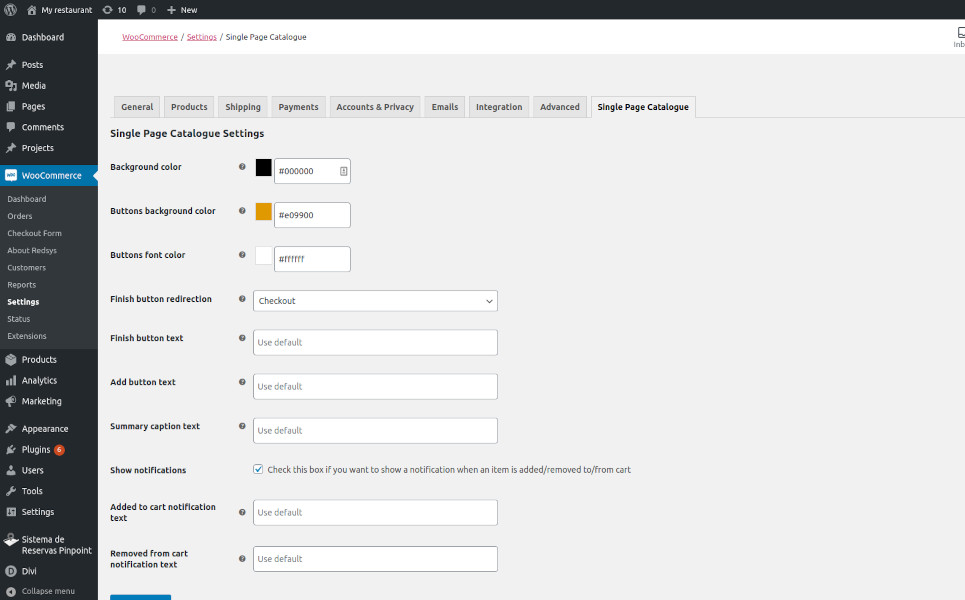
The options there are:
- Background color: choose the color you want to display in your floating style cart toggle header.
- Buttons background: choose the color for the add to cart button, and finish button.
- Buttons font color: the color of the font for the previous buttons.
- Finish buttons redirection: choose the page you redirect your users once they click the finish button. You can choose between cart page or checkout page.
- Add button text: The text for the ‘Add to cart’ button.
- Summary caption text: The text you want to display above the list of products added to the cart.
- Show notifications: If this is checked, a notification will appear every time the user adds/removes a product to/from the cart.
- Added to cart notification text: The text displayed in the notification after adding a product.
- Removed from cart notification text: The text displayed in the notification after removing a product.
Problems or doubts?
If you have any problem using our plugin or you have any doubt about it, feel free to send an email to support@destacaimagen.com and we will do our best to help you with anything you need.

