FASHION
First of all, we would like to thank you for your purchase.
We hope you like this theme and it helps you achieve your goals. If you have any suggestions or improvements you can contact us on support@destacaimagen.com
Installation
1. Download the theme.
Simply download the theme from the platform Elegant Themes or if you have purchased it on our platform you can download it from “my account”.
2. Upload the theme to your page.
On WordPress
- Apearance > Theme
- Click on “Add new” and then on the upper part click on “Upload theme”.
- Click on “choose file” and select the zip file.
- Click on install now.
- Once it is uploaded click on “Activate”
Any problems?
If when you are uploading your theme you have any problems or you have seen any messages related to the limit of the memory of the PHP in your server, we advise you to install the theme from a FTP or to contact your hosting provider so it can enlarge the memory and eventually be able to upload your file.
Important
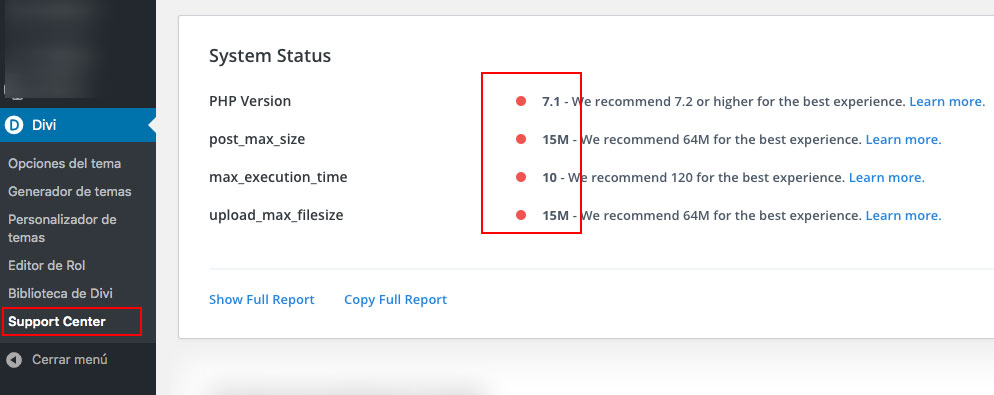
Also, you must to ckeck the Divi compatibility in Divi / Support Center. If you find some value in red as in this image, please contact with you hosting provider.
3. Import the demo
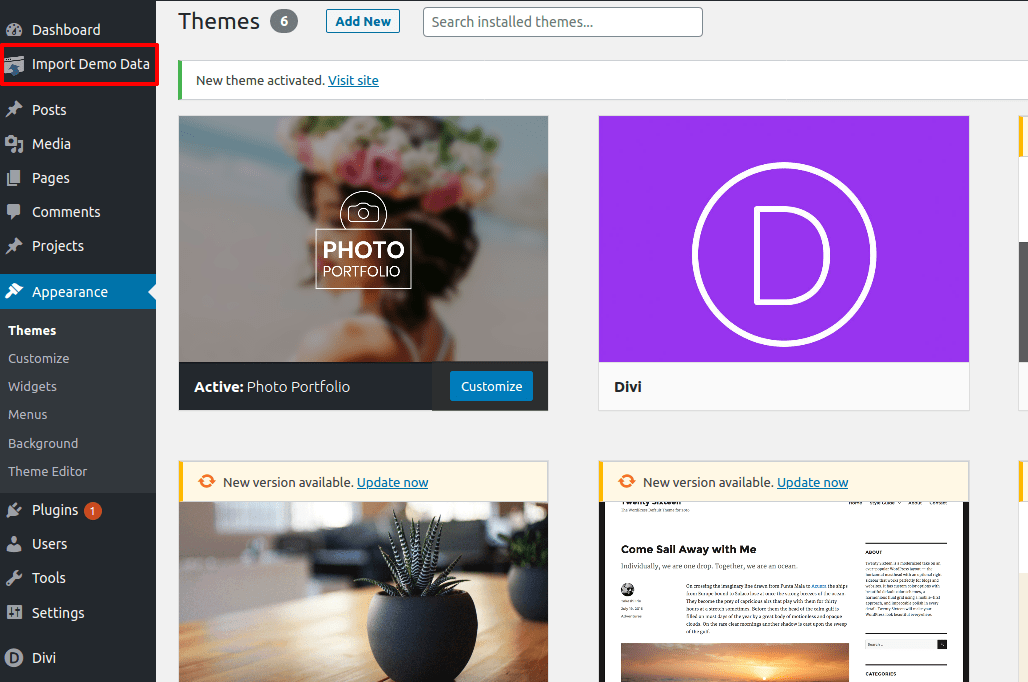
You only have to upload the child theme through a FTP or from the section upload theme. Once you have activated it you will find a new option in your menu called “Import demo data > Easy Demo Import”. Through this new section you can import every necessary file for the theme to be shown correctly.
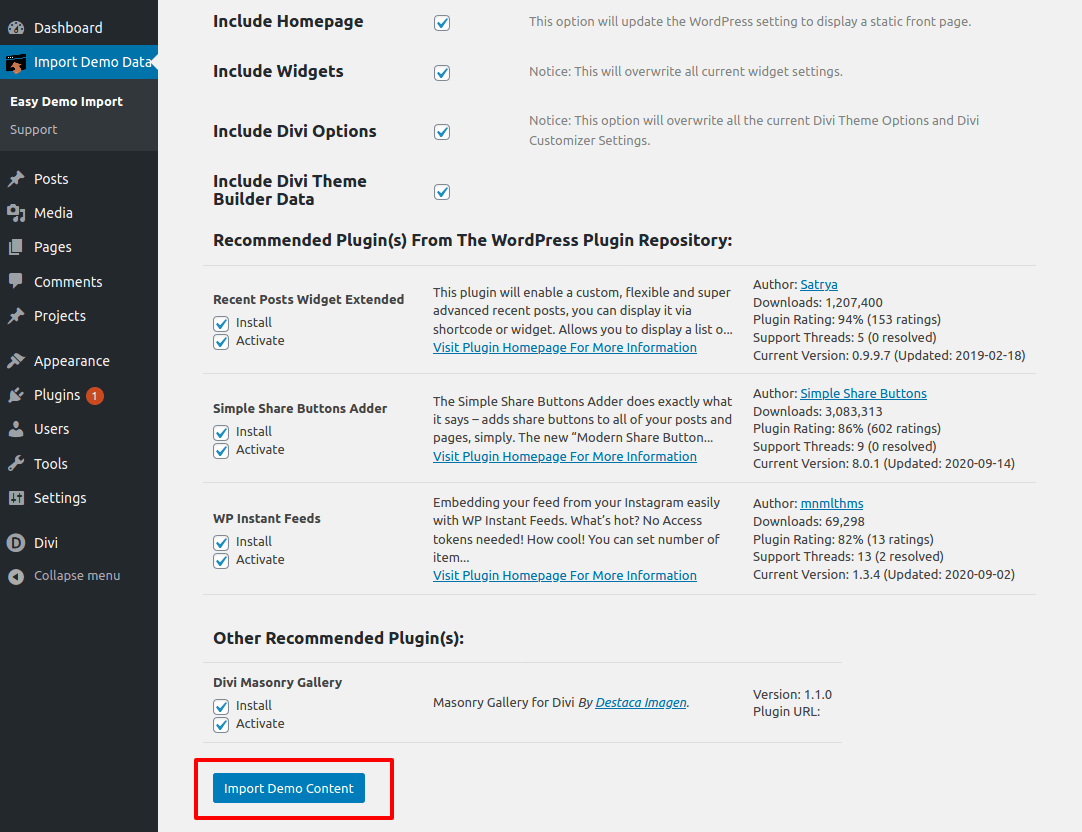
Select every option (by default they are all selected) and click “Import demo content” at the bottom of the page.
Stuck importing theme?
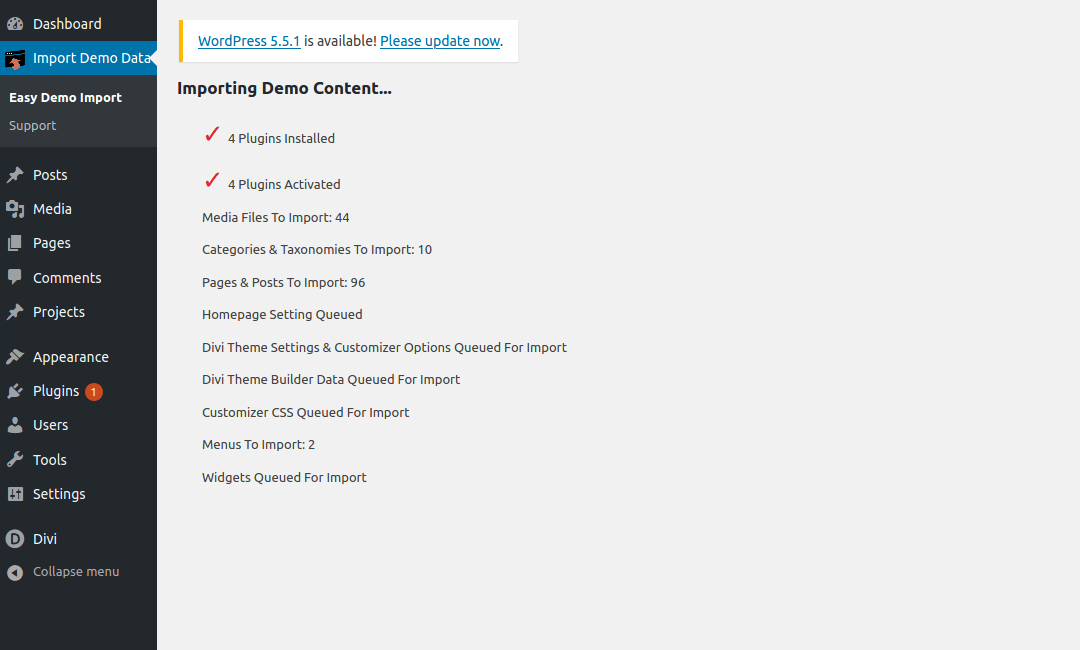
Most of the times, the demo content is imported correctly in fresh wordpress installations but some user reported that the importer gets stuck during the process.
If this is your case, try to increase the value of the php parameters memory_limit (256 mb for example), max_execution_time (60 for example) and max_upload (32mb for example). You usually find them in your hosting server configuration panel. Once the import is done you can restore de default values again.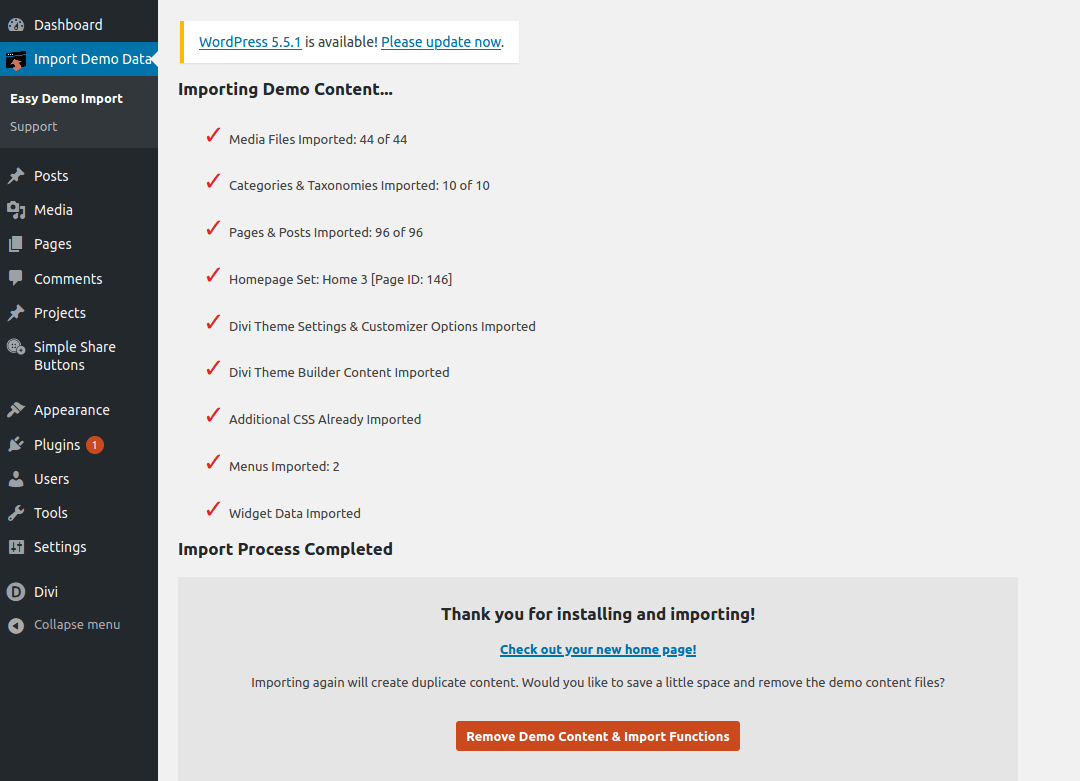
After import the theme data, you will have make three extra changes:
Configure the header search button
1- Go to your Dashboard > Ivory Search > Search Forms.
2- Copy the id of the last entry (the first one is a default example created automatically by the plugin).
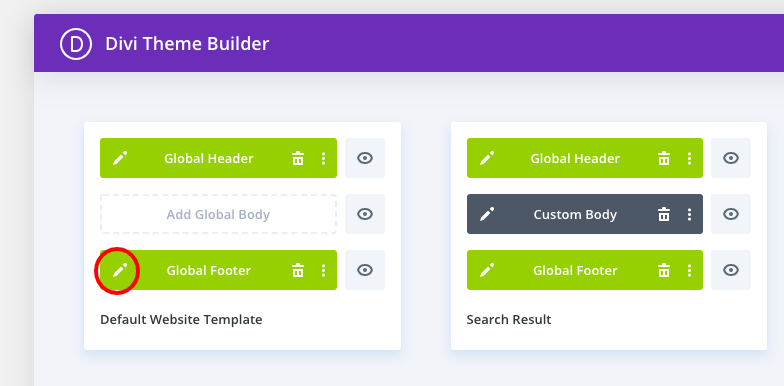
3- Now go to Divi > Theme Builder and Edit the ‘Global Header’.
4- In the second section, go to the code module and update the id of the search shortcode with the one you have copied previously.
You can watch how to do this in the next video.
Configure the Woocommerce pages templates
1- Go to Divi > Theme Builder and search the template named ‘Woocommerce Pages’.
2- Click in the settings icon and select the options ‘Wishlist’, ‘Cart’, ‘Checkout’, ‘Account’ in the Page > Specific Pages option.
You can watch how to do this in the next video.
Import the page filters examples
1- Download the supplementary files of this theme (you can download them from here too). It is a .zip file with two .json files.
2- Go to your Dashboard > Product Filters.
3- Click the import button and import the two .json files (one at a time).
You can watch how to do this in the next video.
Are you having problems importing the filters?
This could be cause by a bug in the latest version of the plugin and you have to use a previous version. Please, follow this steps:
1-Go to Admin Panel > Plugins > Installed plugins and delete the plugin ‘Themify – WooCommerce Product Filter’
2-Download this previous version without the bug here.
3-Upload the downloaded version to your WordPress as any other plugin in Admin Panel > Plugins > Add New.
4-Continue with the filter importation, following the steps above or like in the video.
Update the menu
For updating both the desktop and phone menu you need to go to Appereance/ Menu/ Main. In both devices it will be uploaded the same menu.

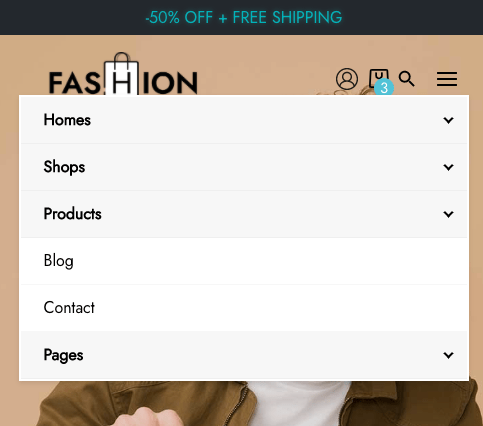
Edit the menu as you do in any WordPress Theme.

Secondary menu and other elements

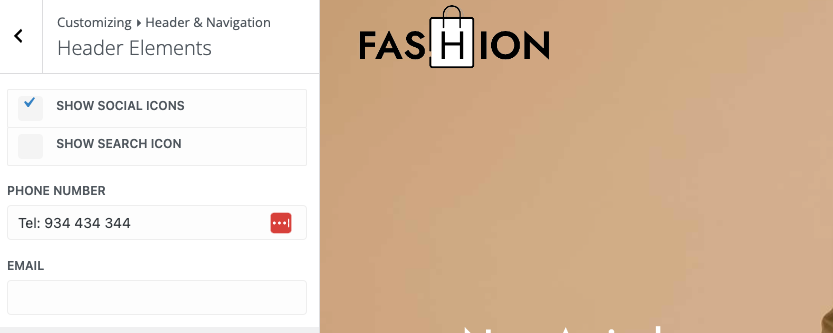
Use the Divi options to change these links and enable or disable your social links Divi / Theme Customizer / Header Elements
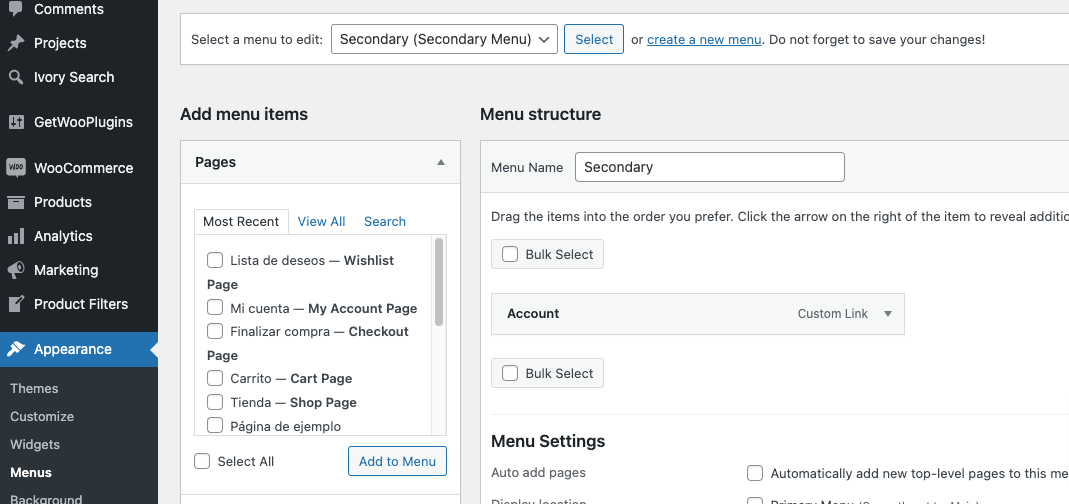
If you want to change the Account Link or add new item you have to go to Appearance / Menus / And edit the Secondary menu

Search Tool
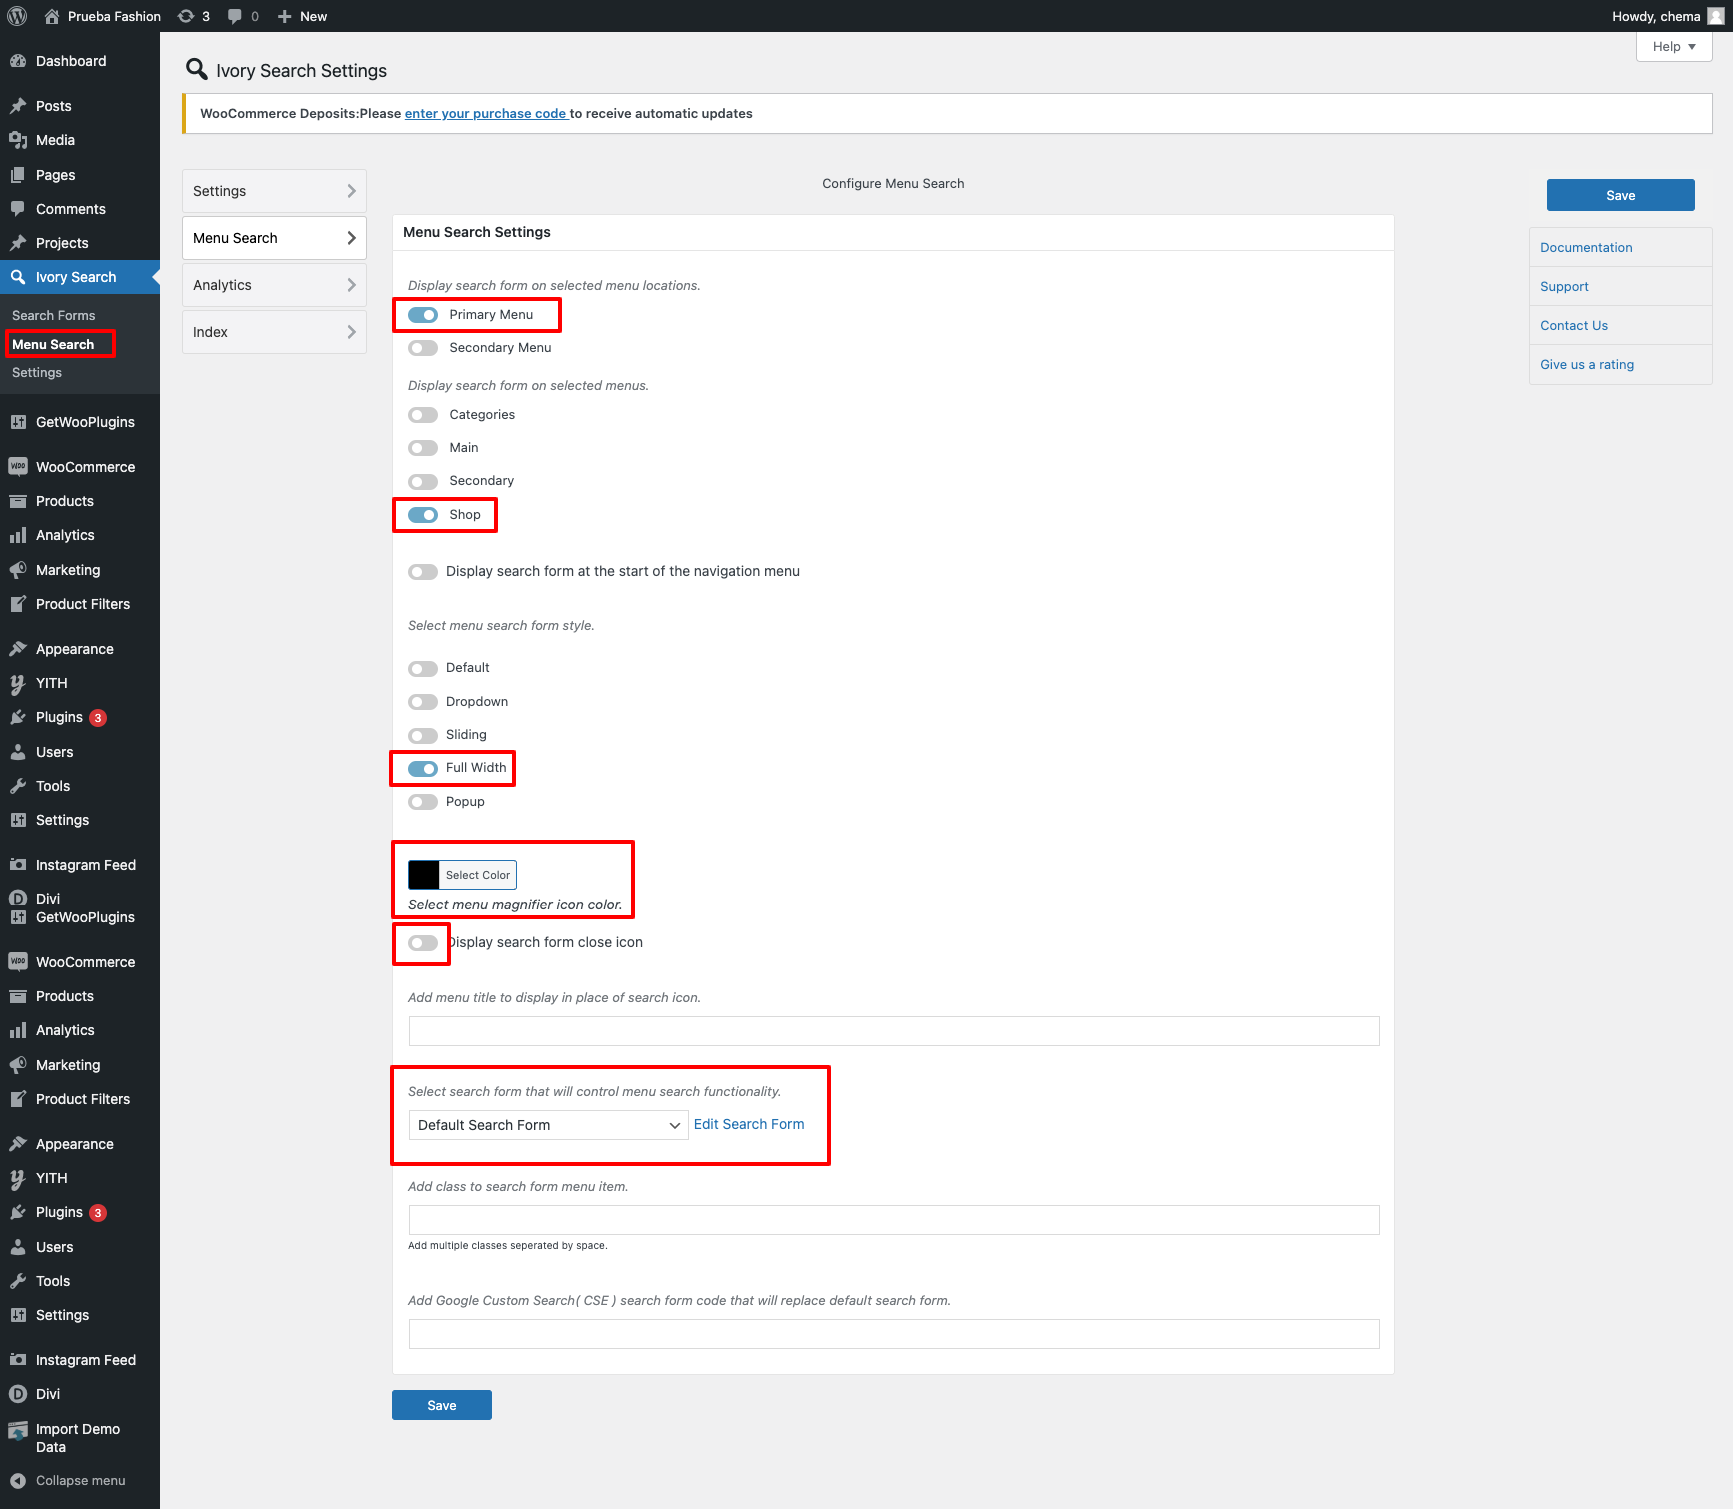
This theme uses a powerful plugin called Ivory Seach for doing Ajax searches. To enable and configure it. Follow these steps.
First of all, go to the plugin and skip the notification. Then we will be able to configure it.
Choose the position and the general options:
Create you product index
You have to index your products to show the results in Yvory Search.

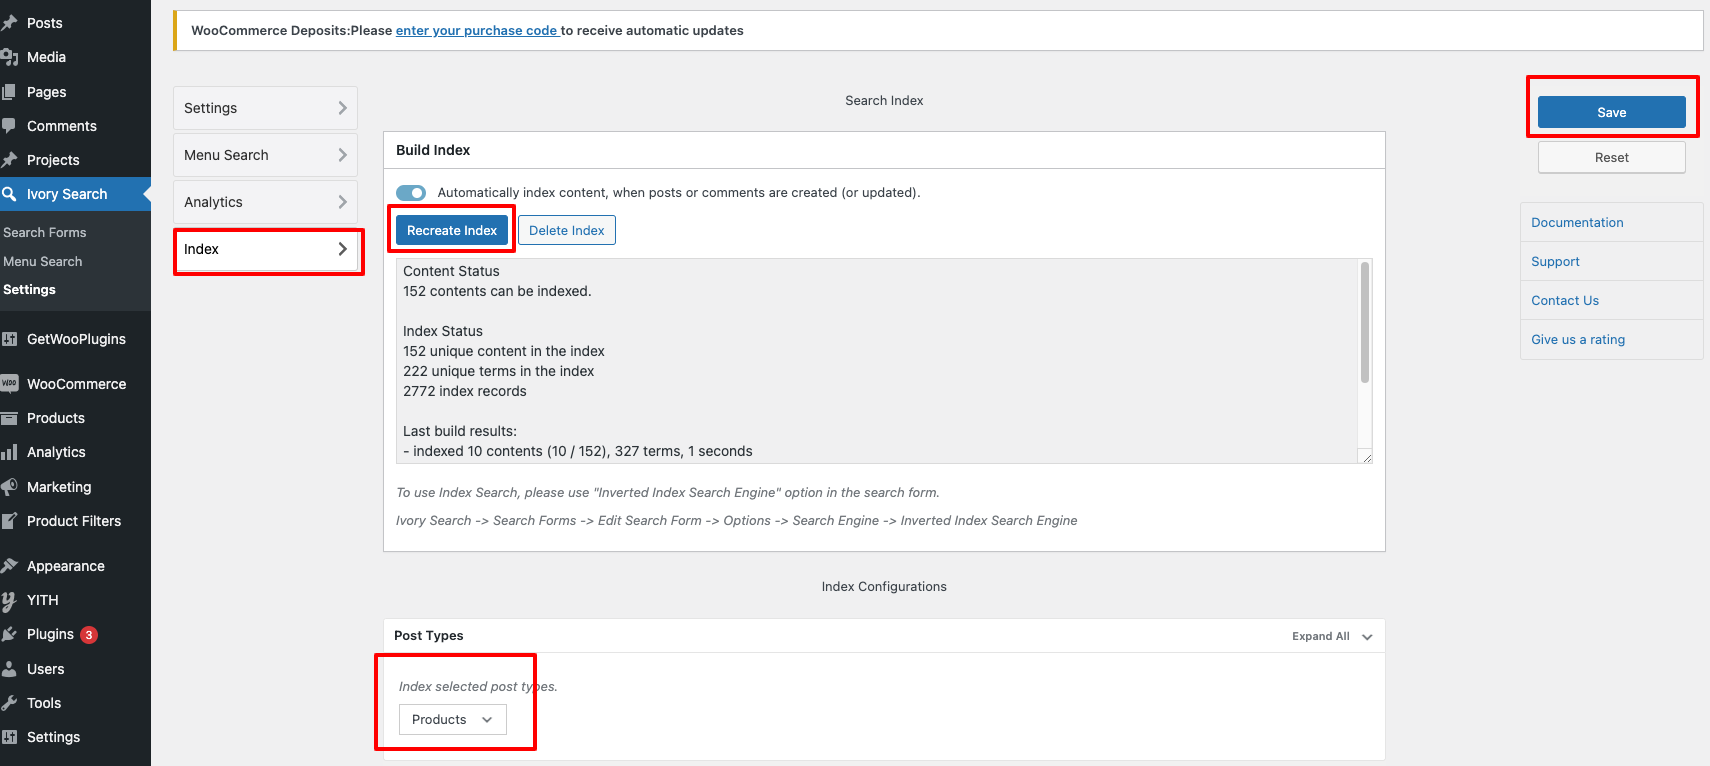
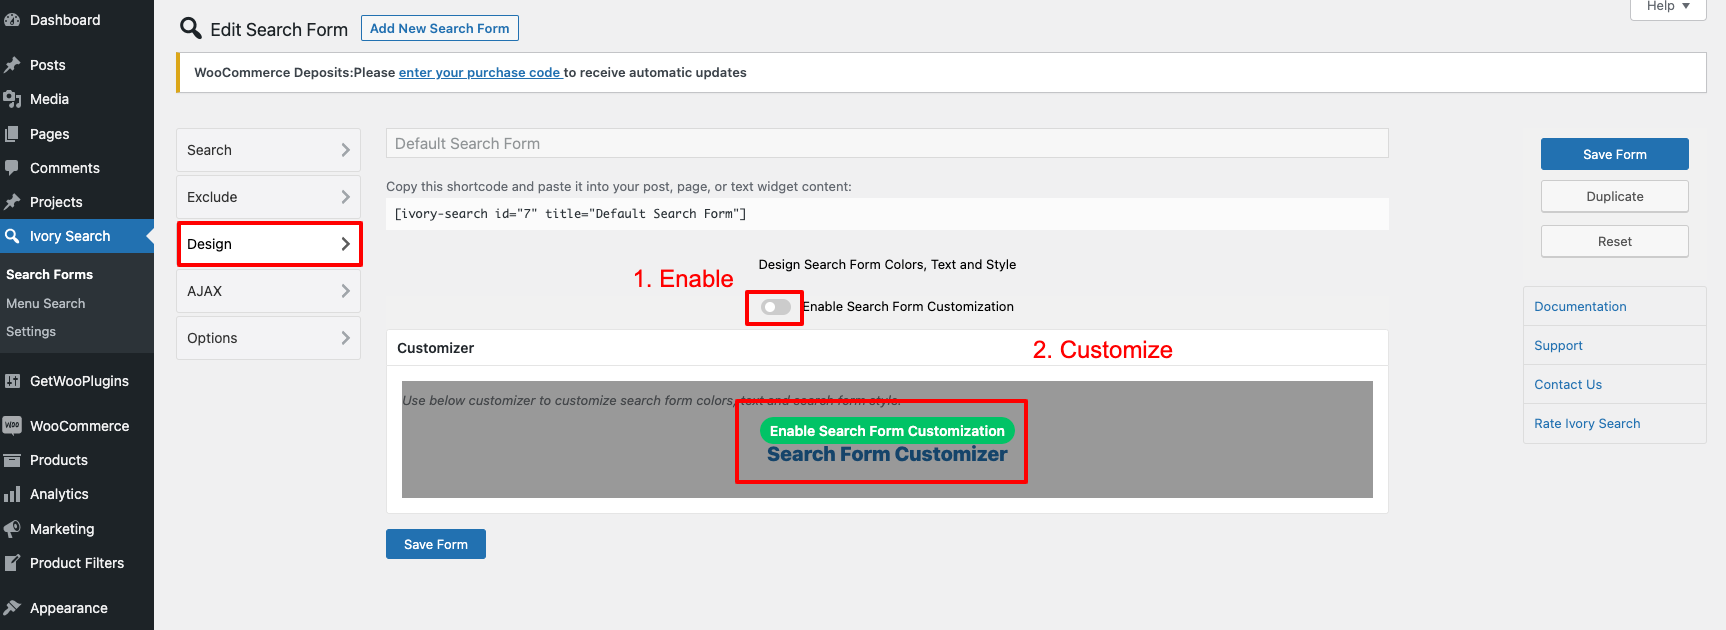
Edit the appaerance
The plugin creates various menus, you need to edit the last.


Colors:
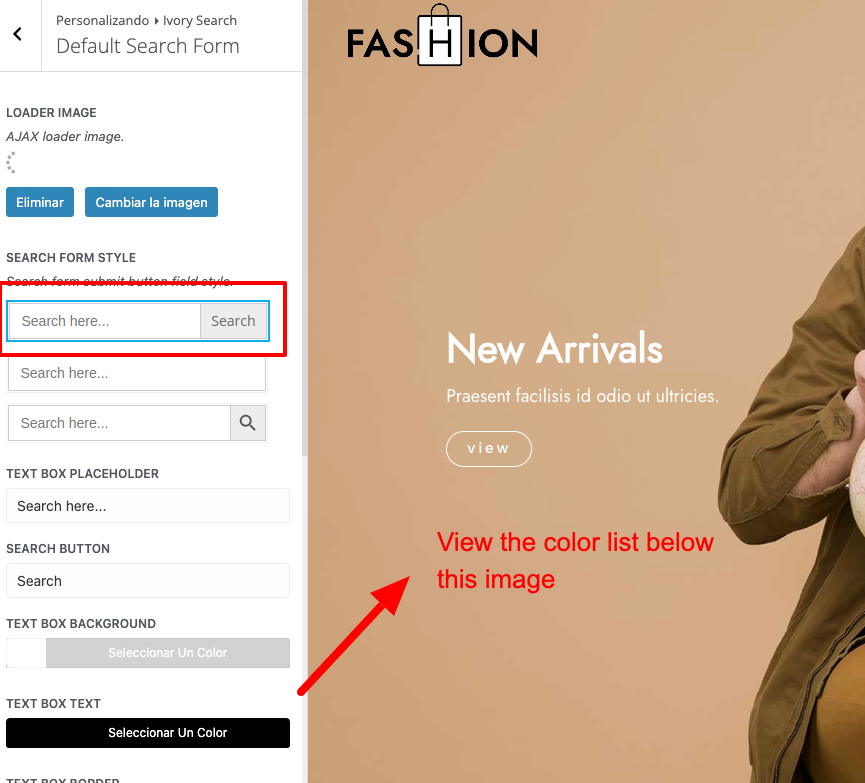
Text Box Background: #ffffff
Text Box Text: #000000
Text Box Border: #dddddd
Submit Button Buckground: #1f0d00
Submit Button Text: #ffffff
Submit Button Border: #000000
Ajax Search Results Background: #ffffff
Ajax Search Results Hover:#f2f2f2
Ajax Search Results Text: #262626
Ajax Search Results Links: #262626
Ajax Search Results Border: #262626
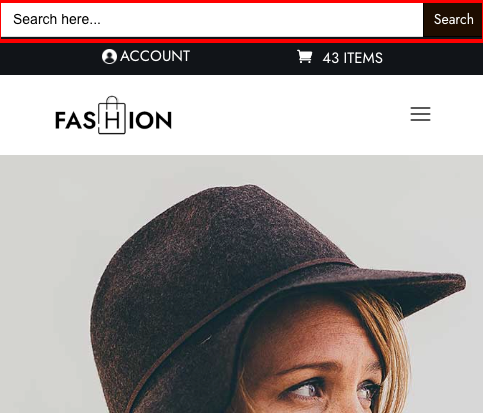
Search Mobile

Preloader
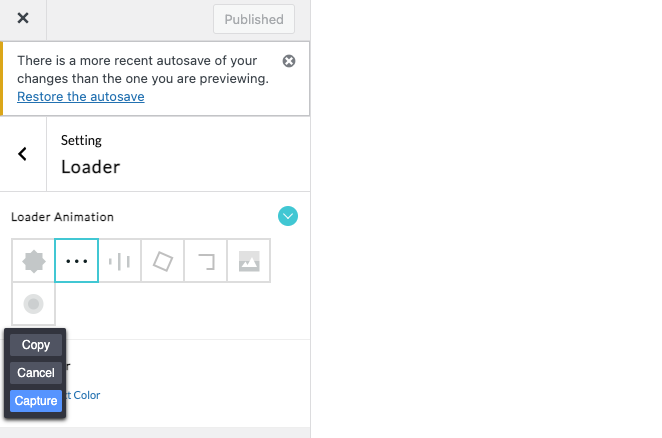
Do you want to disable or change the website preloader? The theme uses the LoftLoader plugin to generate a preloader. You can disable this addon or configure it.

Go to Setting / LoftLoader Lite /
Homes
You have 6 available Home designs. For selecting the design of your choice , you just simply need to go to Settings / Reading and select the page you would like to use as your main page.
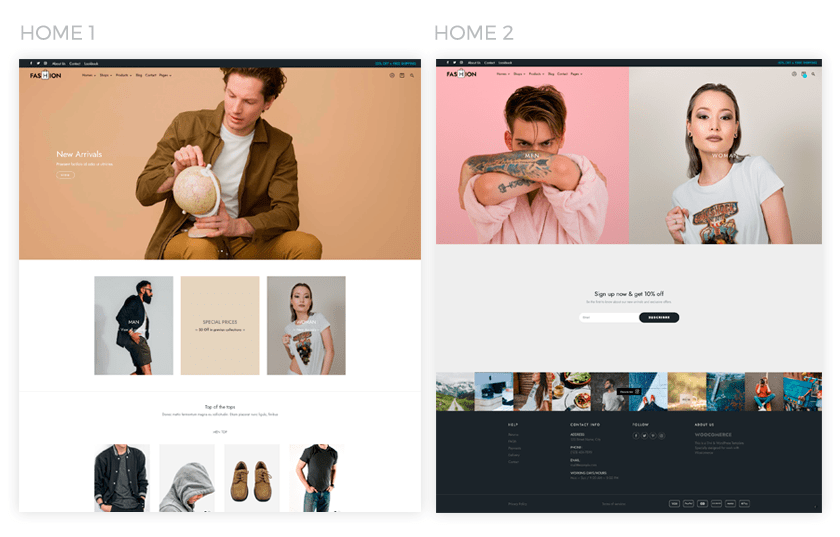
In addition if you want to use our blog template, you should leave the post page option in blank.
Woocommerce
You must bear in mind that for all the links to work correctly the Woocommerce page options must be these.
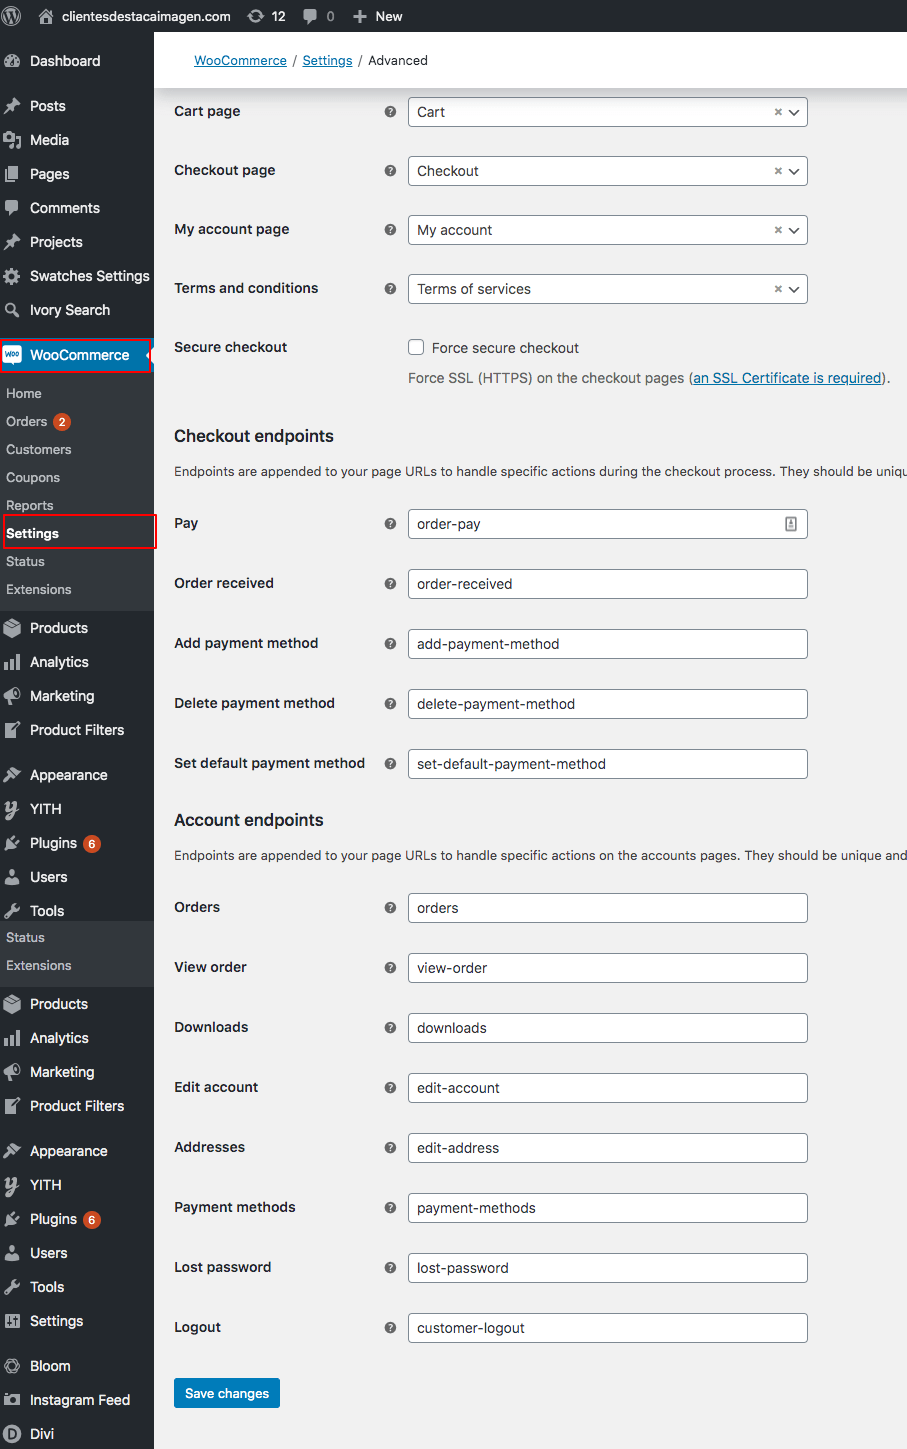
Display color variations
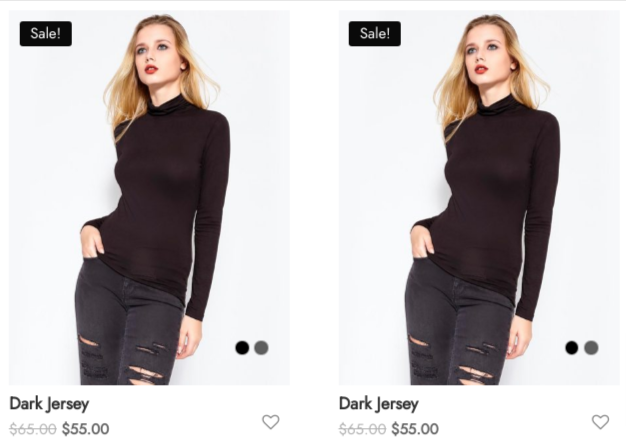
To display de color options of a variable producto you have to follow this steps:
1. Go to your admin panel > Products > Attributes.
2. Complete the form selecting ‘Color’ as type.
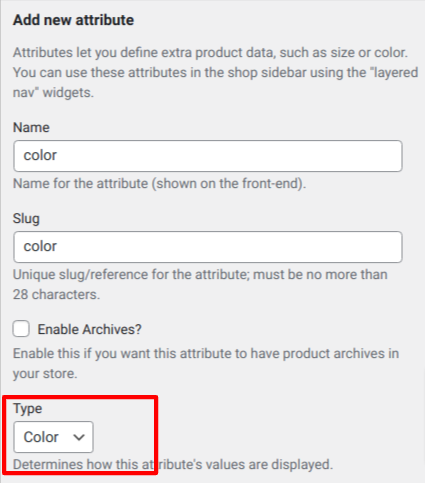
3. Once the new attribute is created an displayed, you have to click Configure terms.

4. Add the colors that you need picking the color from the color picker.
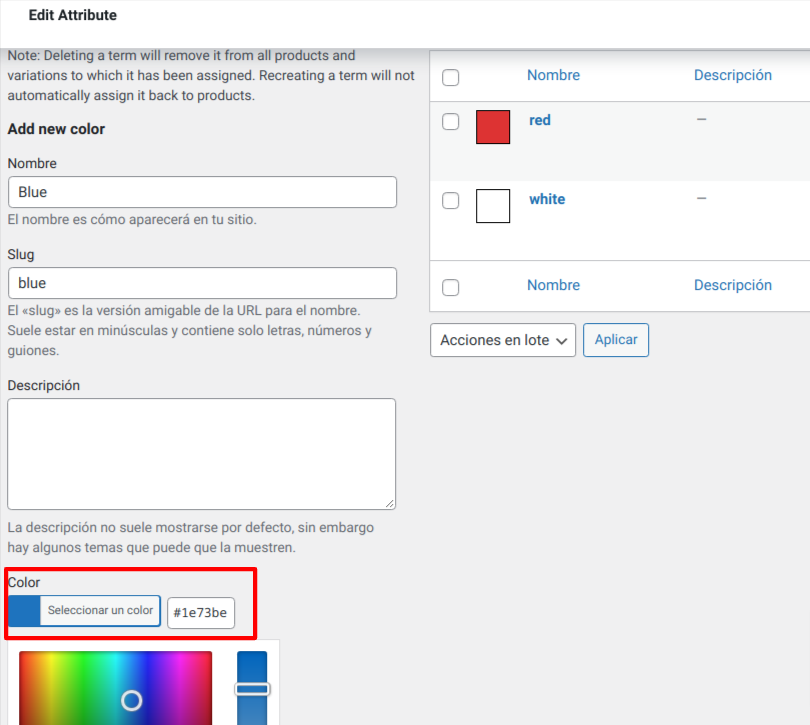
After that, when you create a variable product and you use the color attribute, the color options will be displayed in your products.
CONFIGURE COLOR VARIATIONS STYLE
To configure between square and round style, go to Swatches option in your admin panel and select your prefer Shape style.
Shop / Category
You can select between these three available templates for the shop/category page. Here you can have a quick look at the designs:
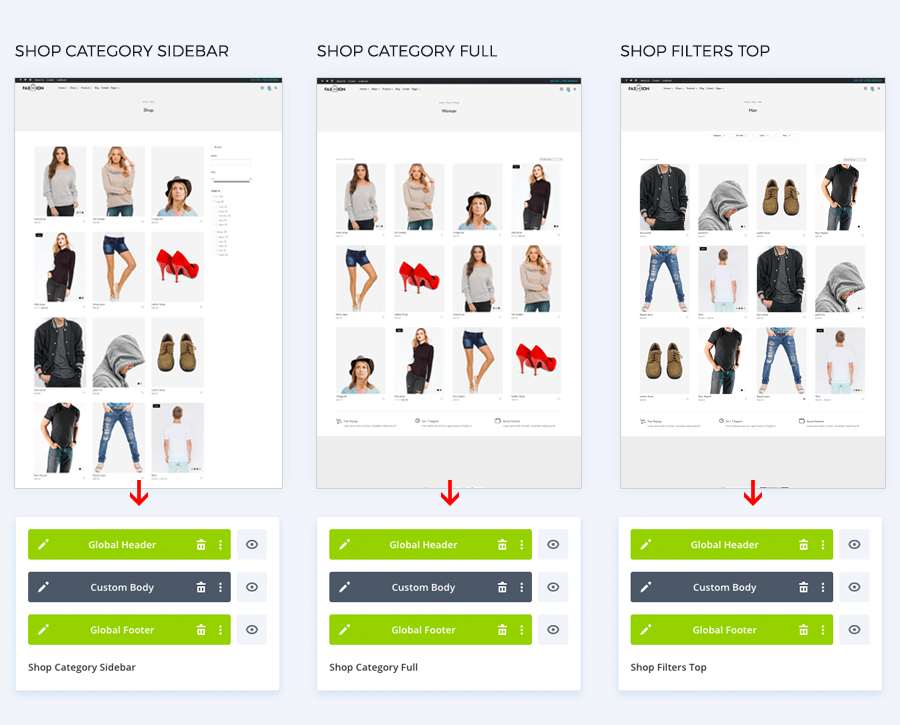
How do I select the template of my choice?
Let’s imagine we want to select the design number 2 “Shop Category Full”. Firstly we will have to disable the other designs and lastly link the design “Shop Category Full” to all the categories that we want.
We will show you how to do it in this video:
Product page
You have two options for the product gallery. On the first one we have static images on our left side of the screen and on the second they appear as a gallery with miniatures.
You also have two designs to show the descriptions, reviews, etc. One with tabs and the other without them.
Therefore you can choose between these four combinations.
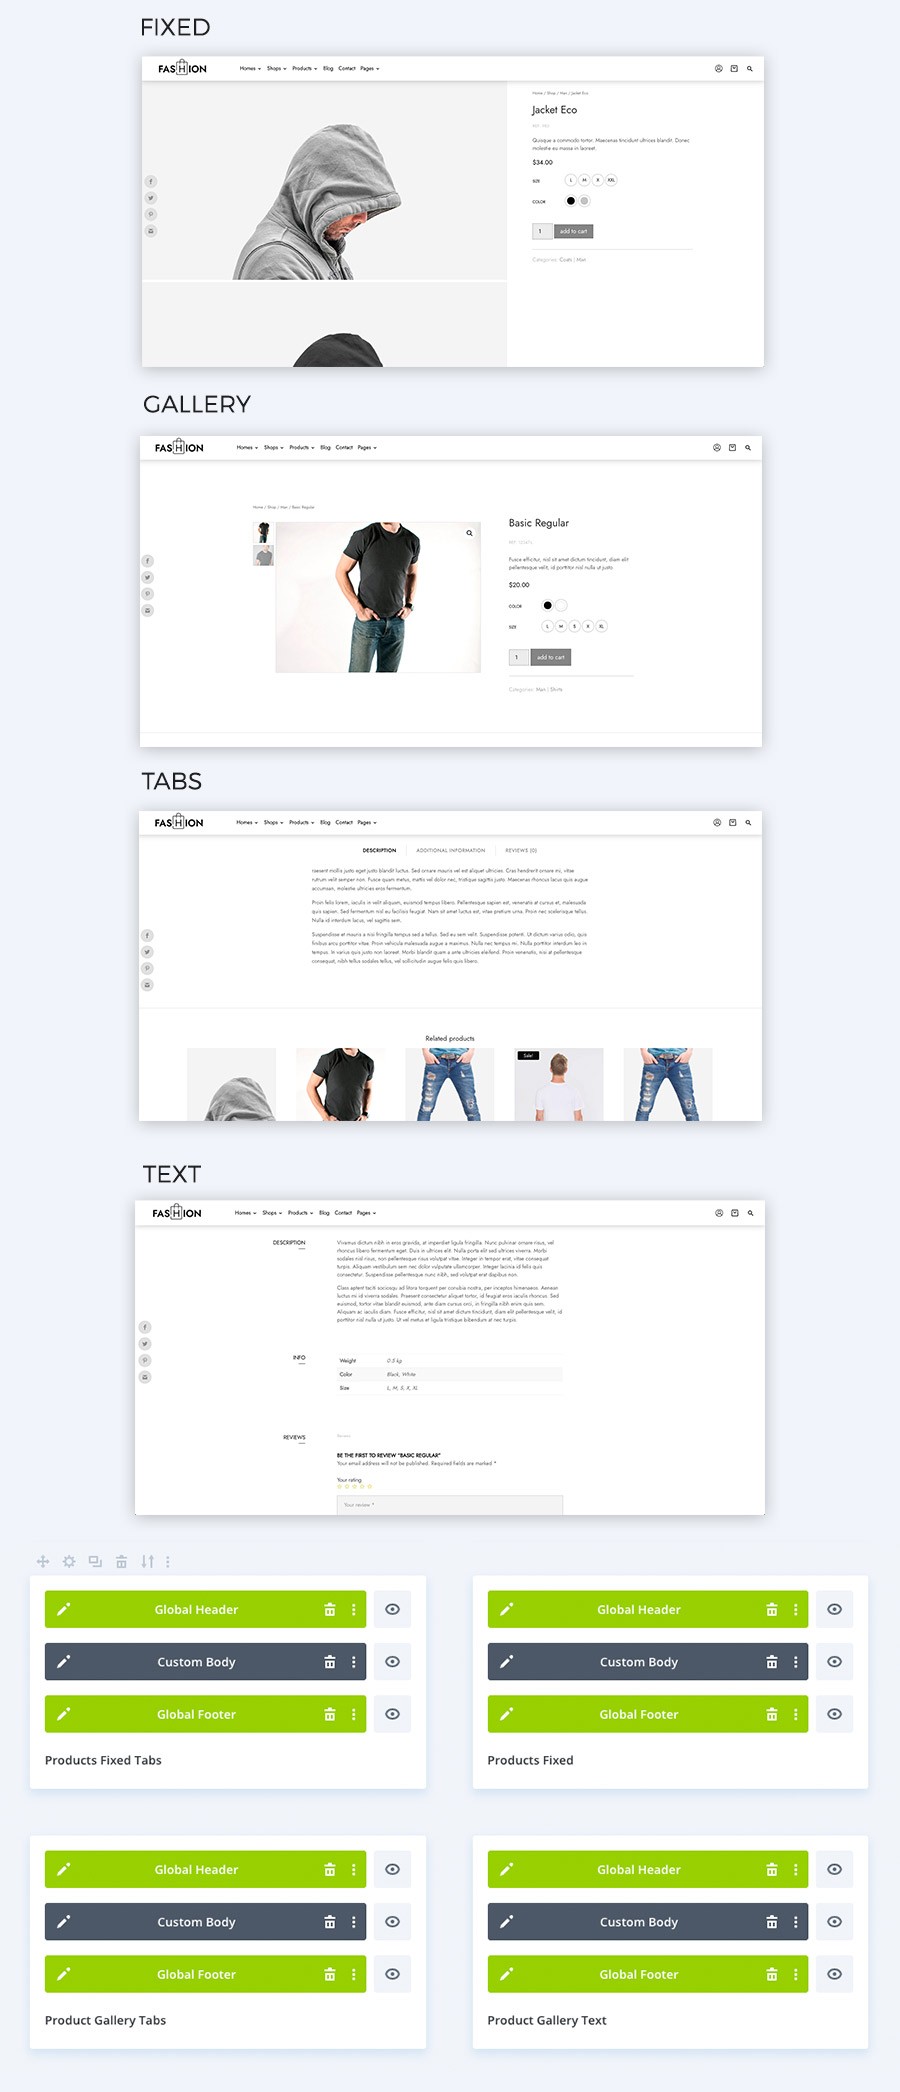
How do I select the template of my choice?
Let’s imagine we want to select the design number 2 “Products Fixed”. Firstly we will have to disable the other designs and lastly link the design “Products Fixed” to all the categories that we want.
We will show you how to do it in this video:

Lookbook
The Lookbook is a design created for sharing ideas, inspirational pictures or galleries about a topic. We recommend you duplicate this page any time you would like to create a new Lookbook. In addition, with this template you have access to Masonry Gallery, a plugin of our own making with which you will be able to create amazing galleries in a very few steps.
Blog
To use the blog page you must leave the post pages option in blank in Settings/ Reading. To edit the blog page you can do it from pages/blog.
To edit the template of the articles or posts you must do it from Divi / Theme Builder / Blog Post.

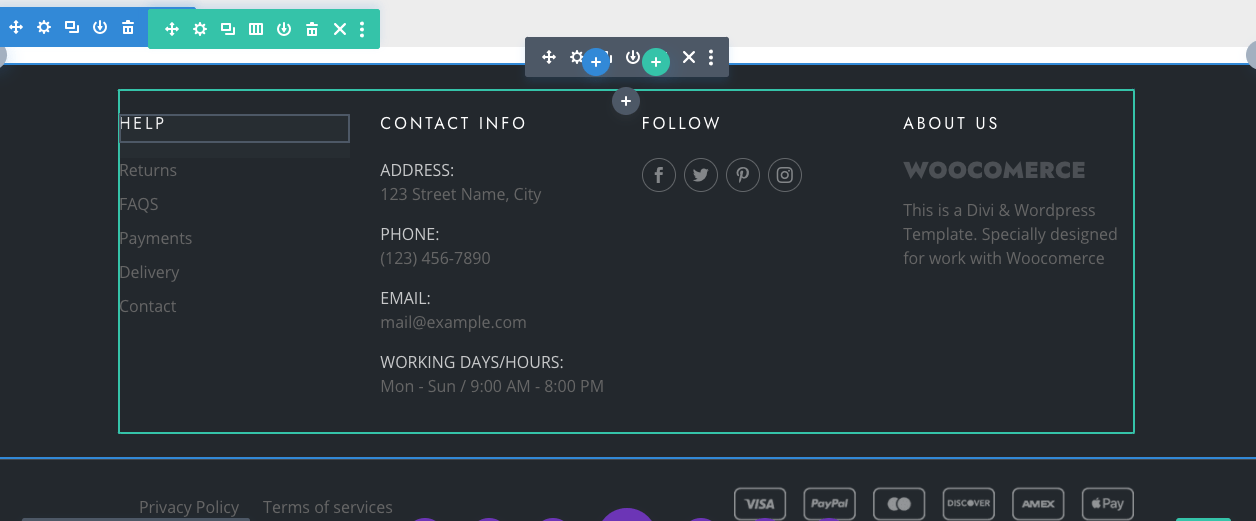
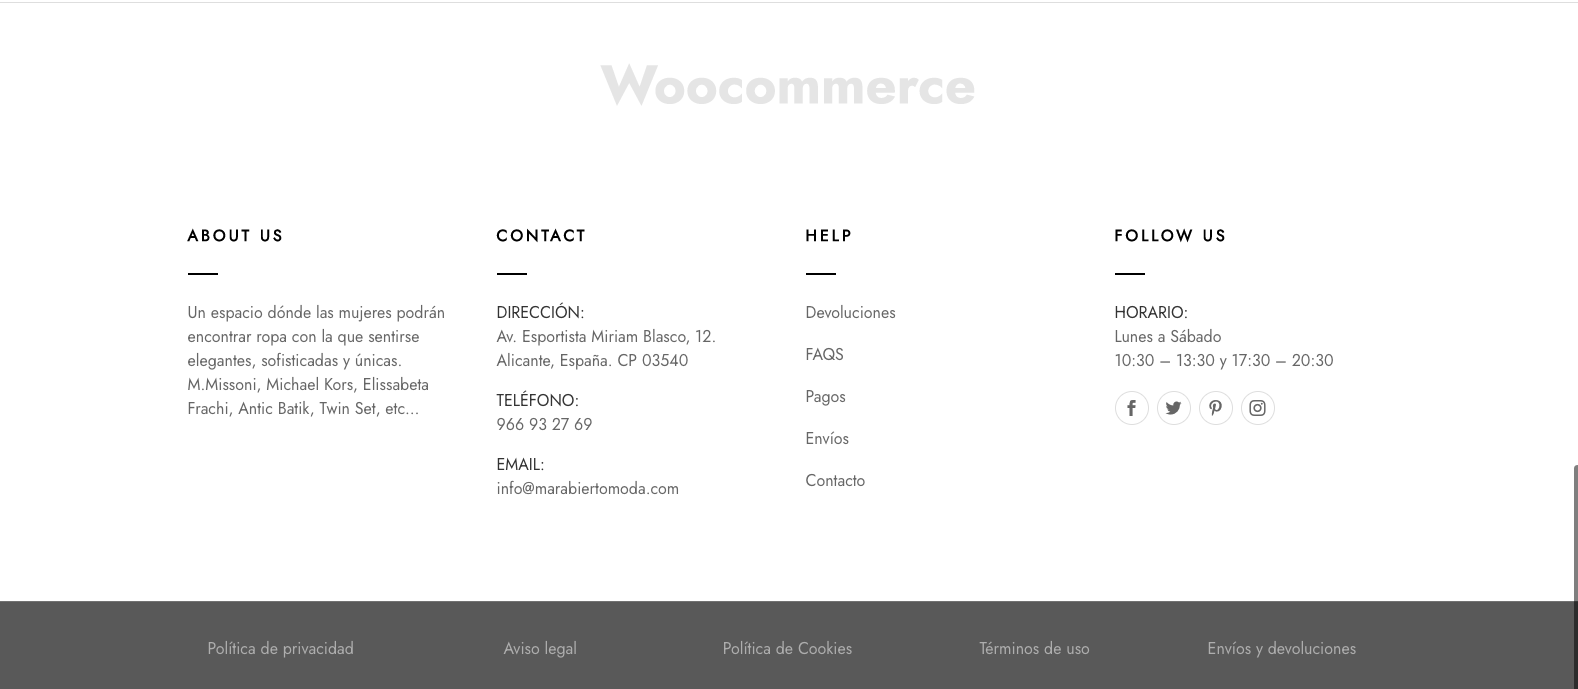
White Footer
You will find the alternative footer in the Divi library. If you wish to use it you can remove all the Footer content and load this one from the library.

Link your Instagram account
You only need to be logged in Instagram in your device and to follow the steps that we address in the following video:
Popup
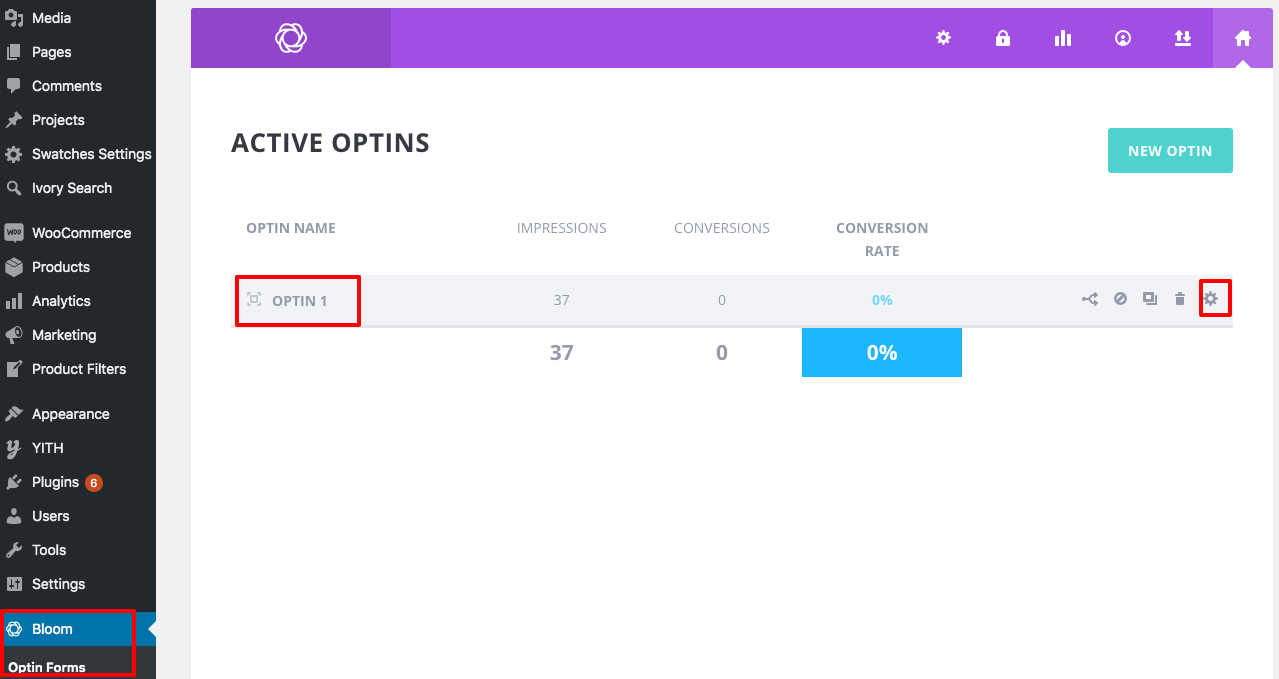
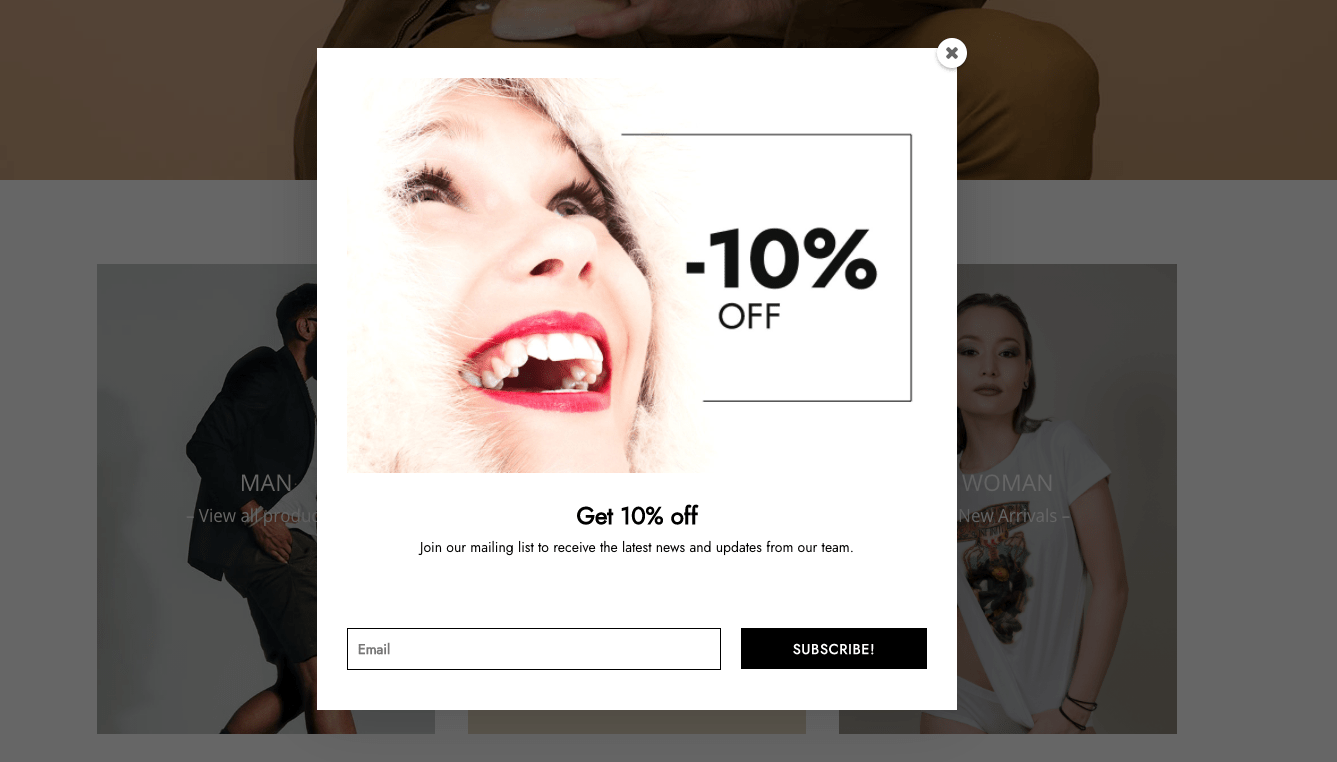
The pop up of this template has been created with the Bloom plugin from Elegant Themes. Here you have a tutorial of Elegant Themes. You can add new pop ups, edit or disable them from the panel.
