Masonry Gallery for Divi
Create amazing galleries in few steps
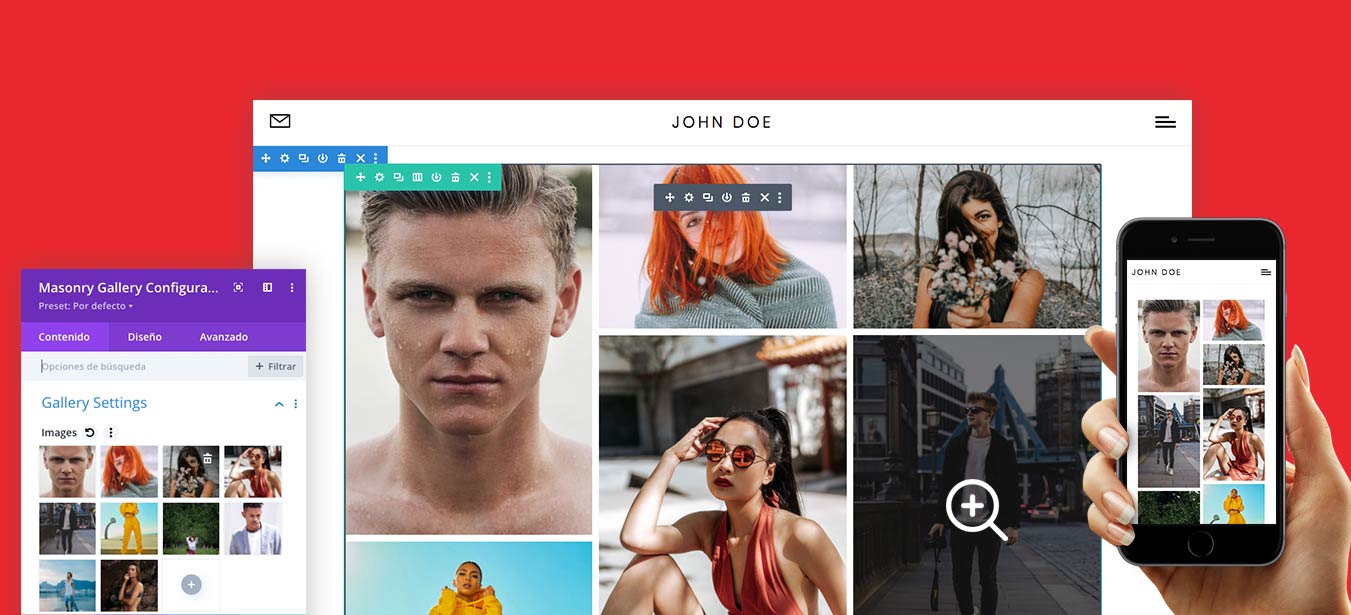
How does it work?
Simple, easy and 100% compatible with Divi.
![]() Category filters.
Category filters.
![]() Pagination.
Pagination.
![]() Fullscreen lightbox
Fullscreen lightbox
![]() Link to other pages.
Link to other pages.
![]() Show image title and caption
Show image title and caption
![]() Overlay effects
Overlay effects
Documentation
How to install it
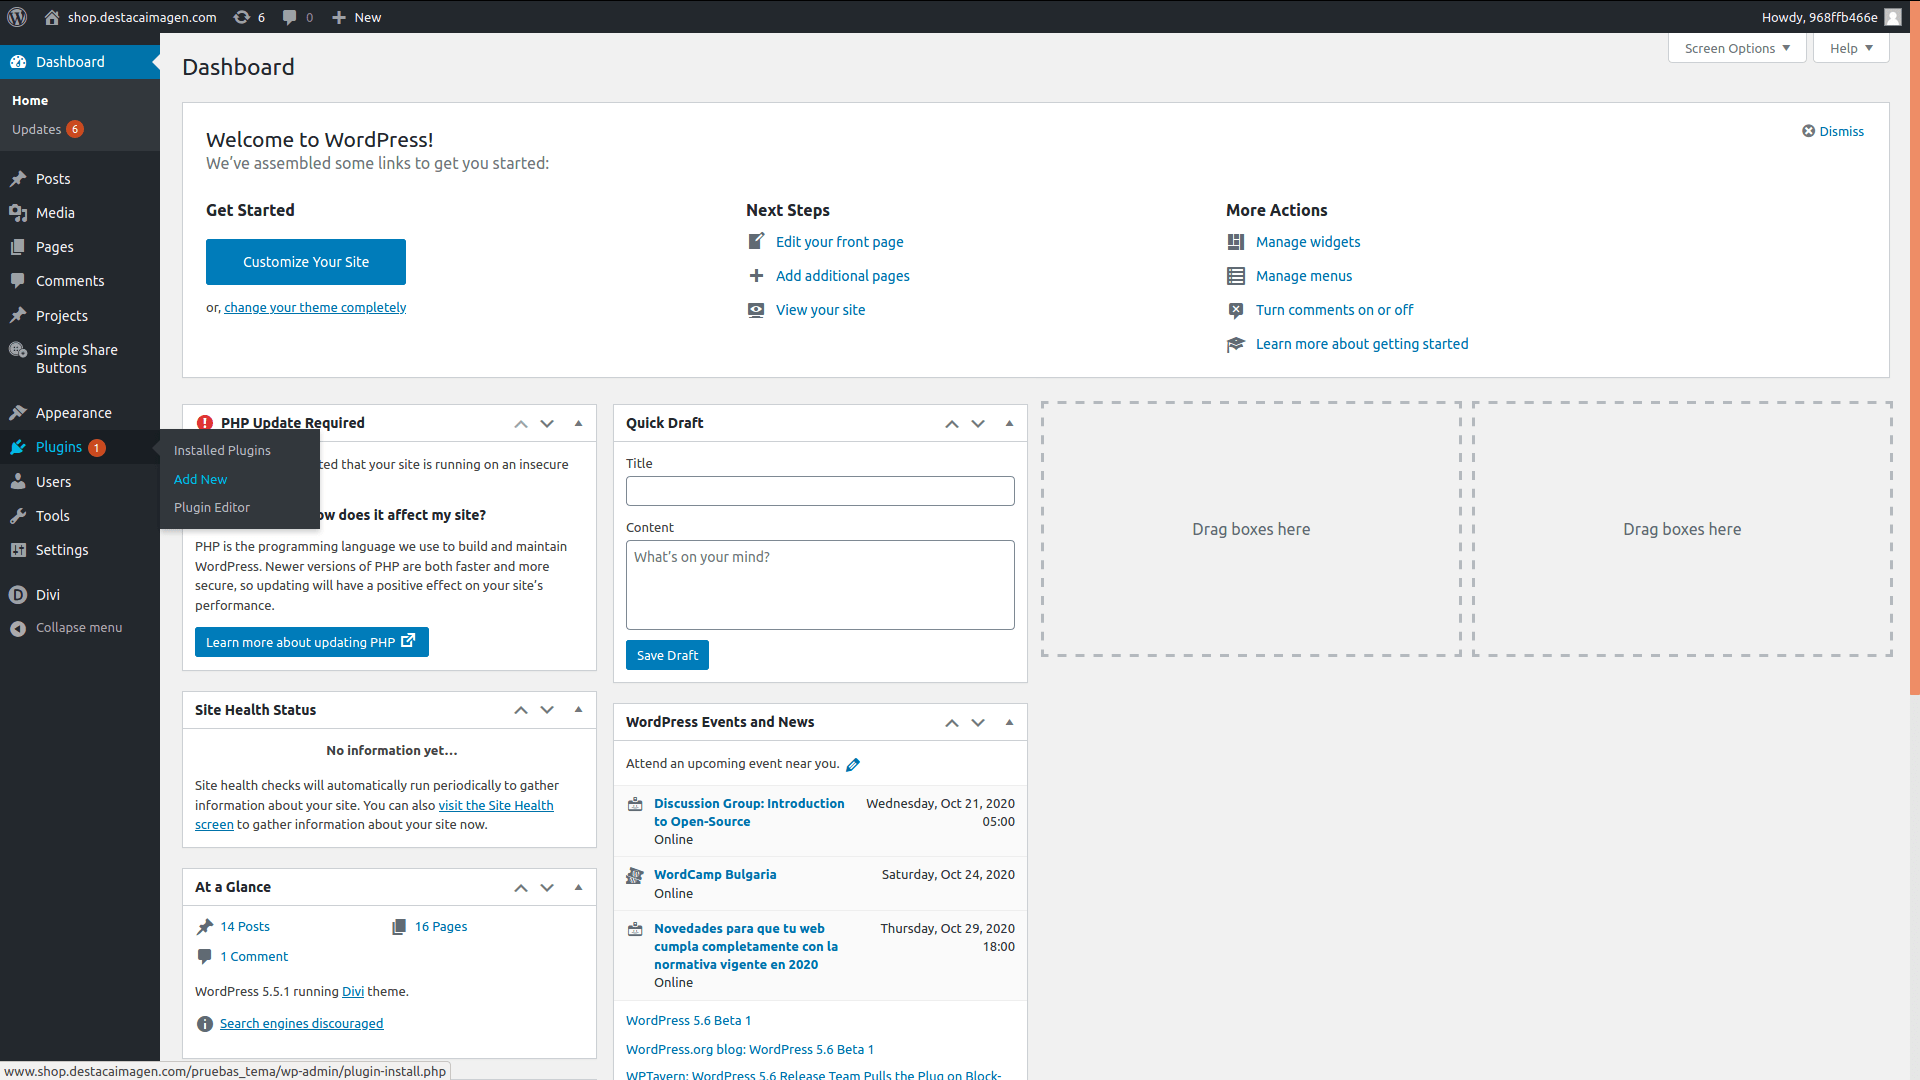
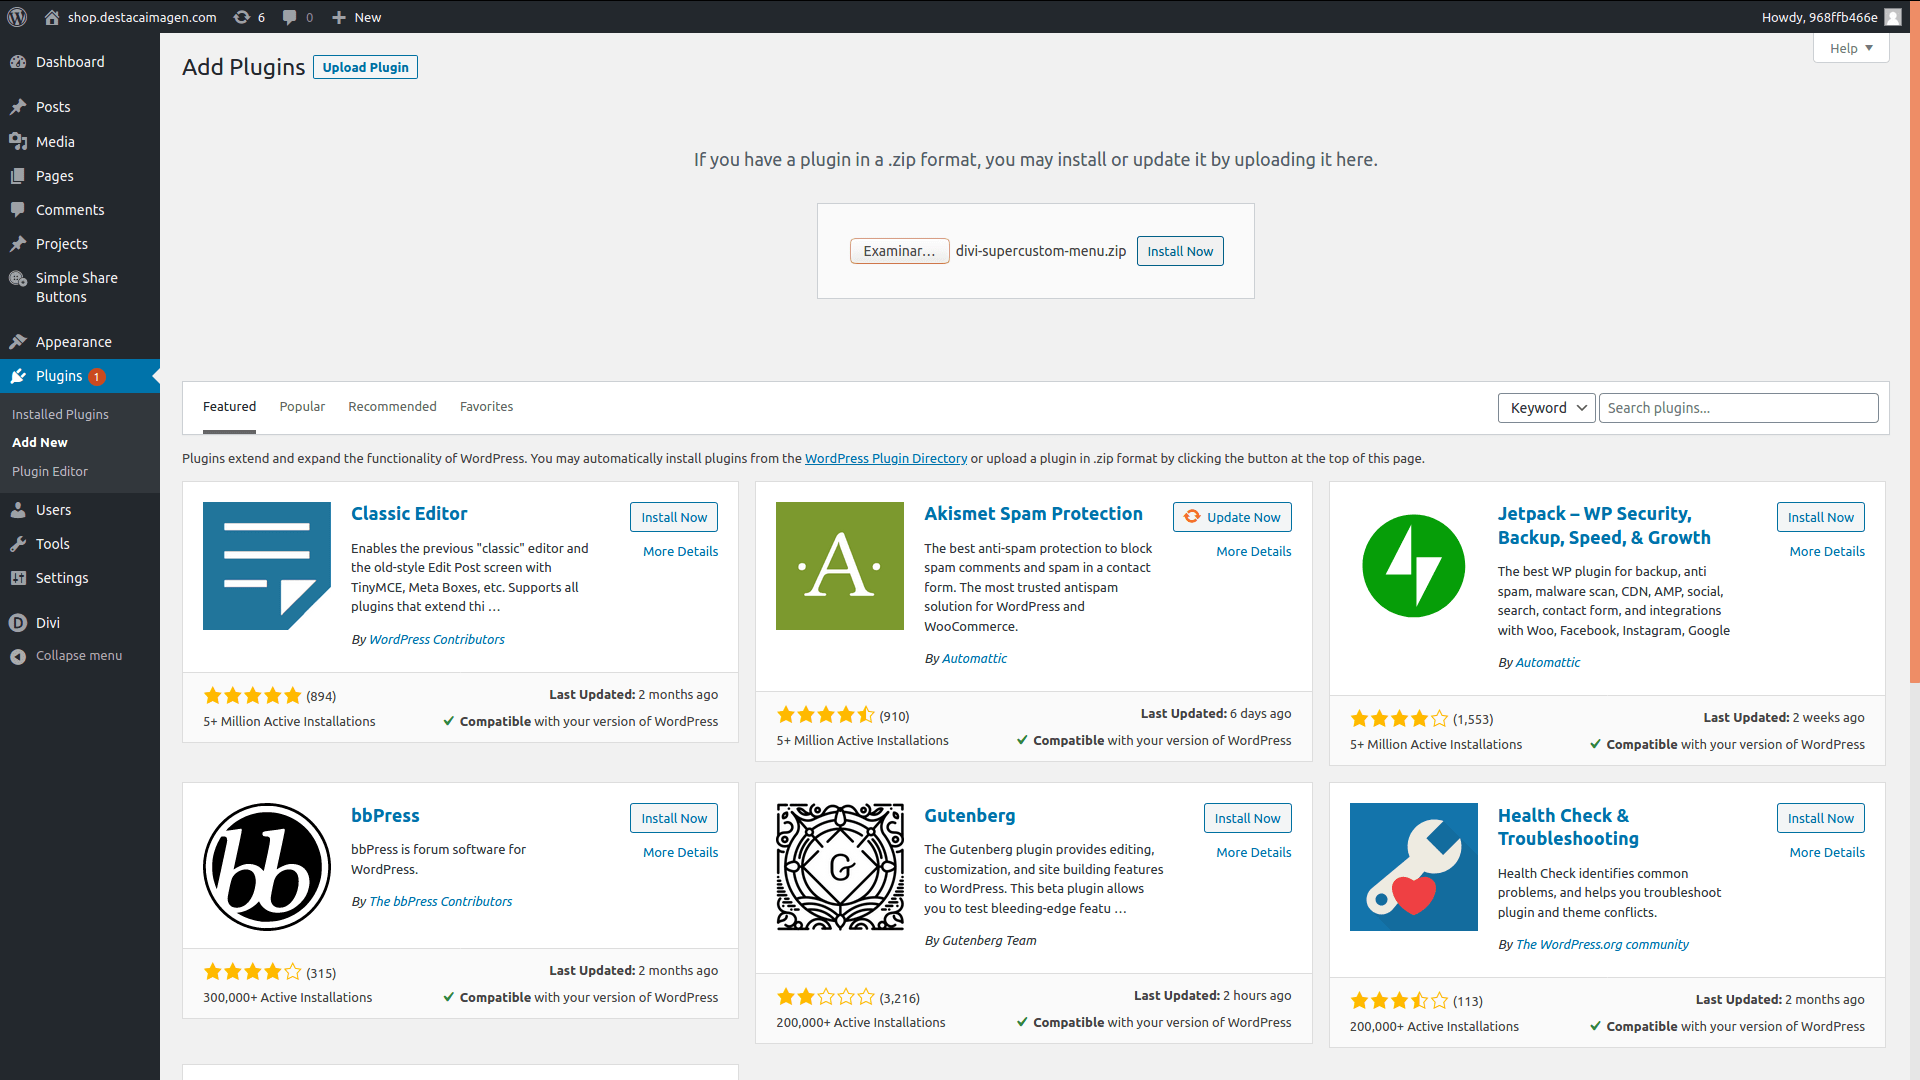
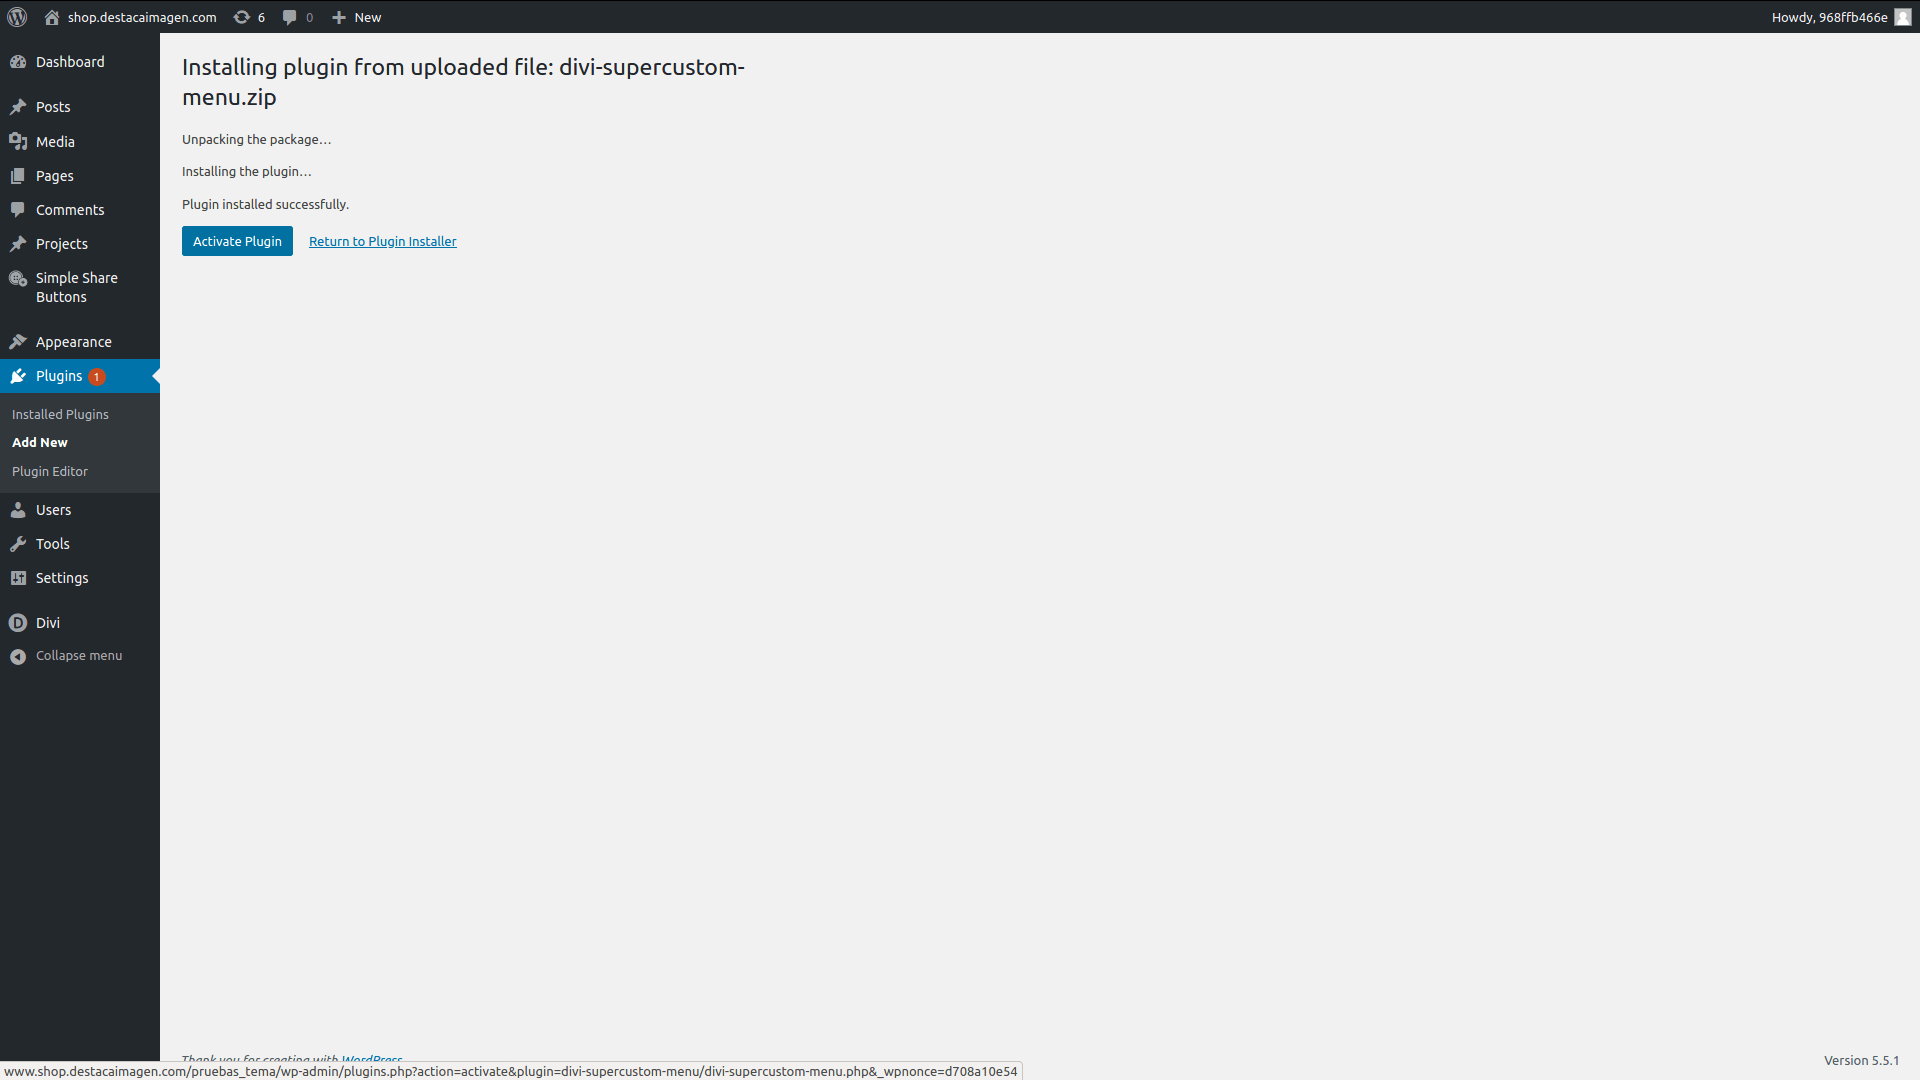
Once we have our WordPress installation with Divi working, we have to install the plugin.
1. In your admin dashboard, go to Plugins > Add new.
Basic options
You will find the main options of the gallery in Content Tab > Gallery Settings:
- Images: Select the images for your gallery.
- Number of columns: Number of columns of your gallery. REMEMBER: You can configure different numbers of columns for Desktop, Tablets and Mobile devices.
- Space between Images: Distance between images. REMEMBER: You can configure different spaces for Desktop, Tablets and Mobile devices.
- Images size: Size resolution for the images of your gallery.
- Image onclick action: Choose if you want to do nothing, open a fullscreen lightbox or link images to other pages. Read more about this here.
- Popup image background: Override the default lightbox background color.
- Show image title/caption in popup: Select the images details you want to display in the lightbox.
- Show category filters: Select if you want to display the Gallery category filter. Read more about this here.
- Paginate gallery: Select if you want to paginate your Gallery.
Other options
Overlay
You will find the overlay options in Design Tab > Overlay:
- Overlay content: You can choose different options:
- Overlay icon: Display an icon when overing the image.
- Nothing: don’t show any overlay.
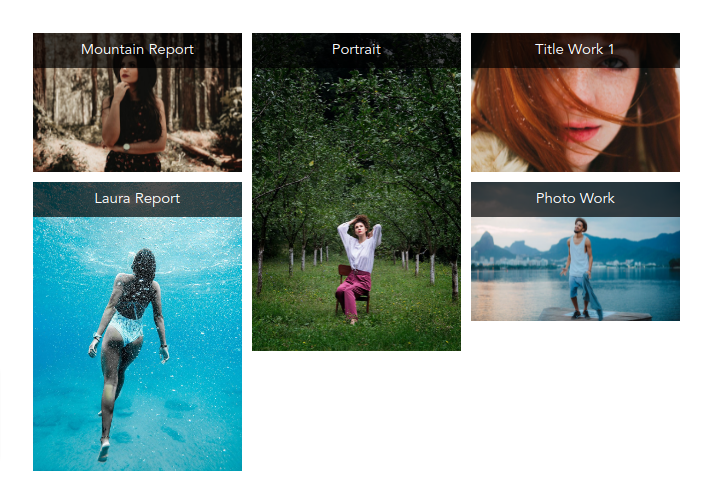
- Overlay image title/caption: Show the title, caption or both. You can also choose between different animations effects. If you want to display this always (not only when overing), you have to choose the options ‘Visible always at top‘ or ‘Visible always at bottom‘ in the Overlay Content Animation.
Configure the category filter:
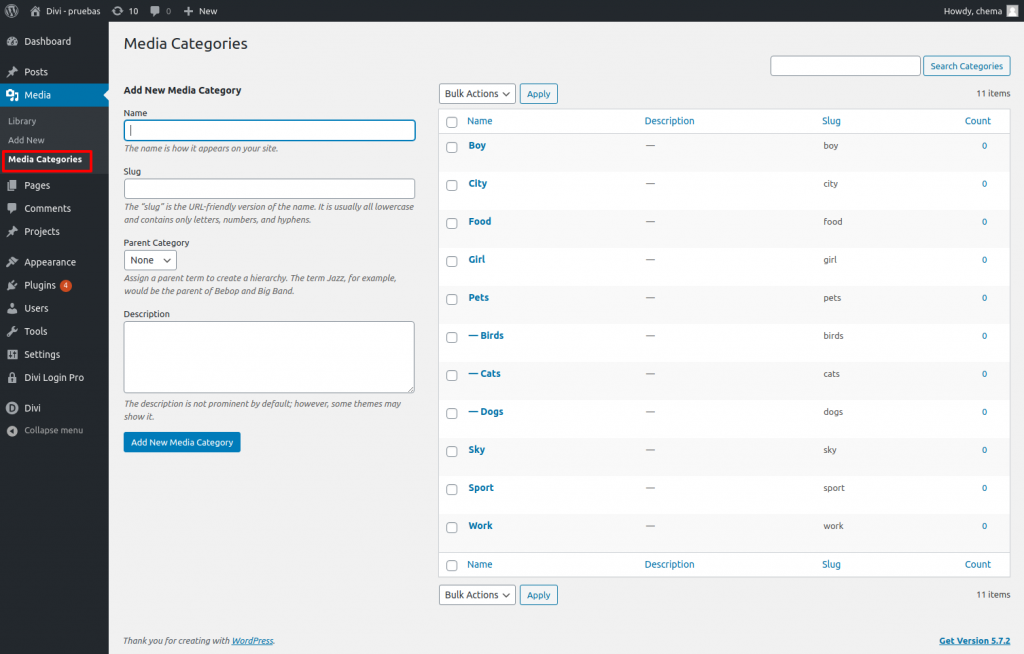
Once the plugin is installed and activated, a new option would appear un the the Media admin menu:
There you have to create the categories for your images, like you do in other WordPress taxonomies.
After creating your categories, you can assign media images to them this:
1- Open your media library.
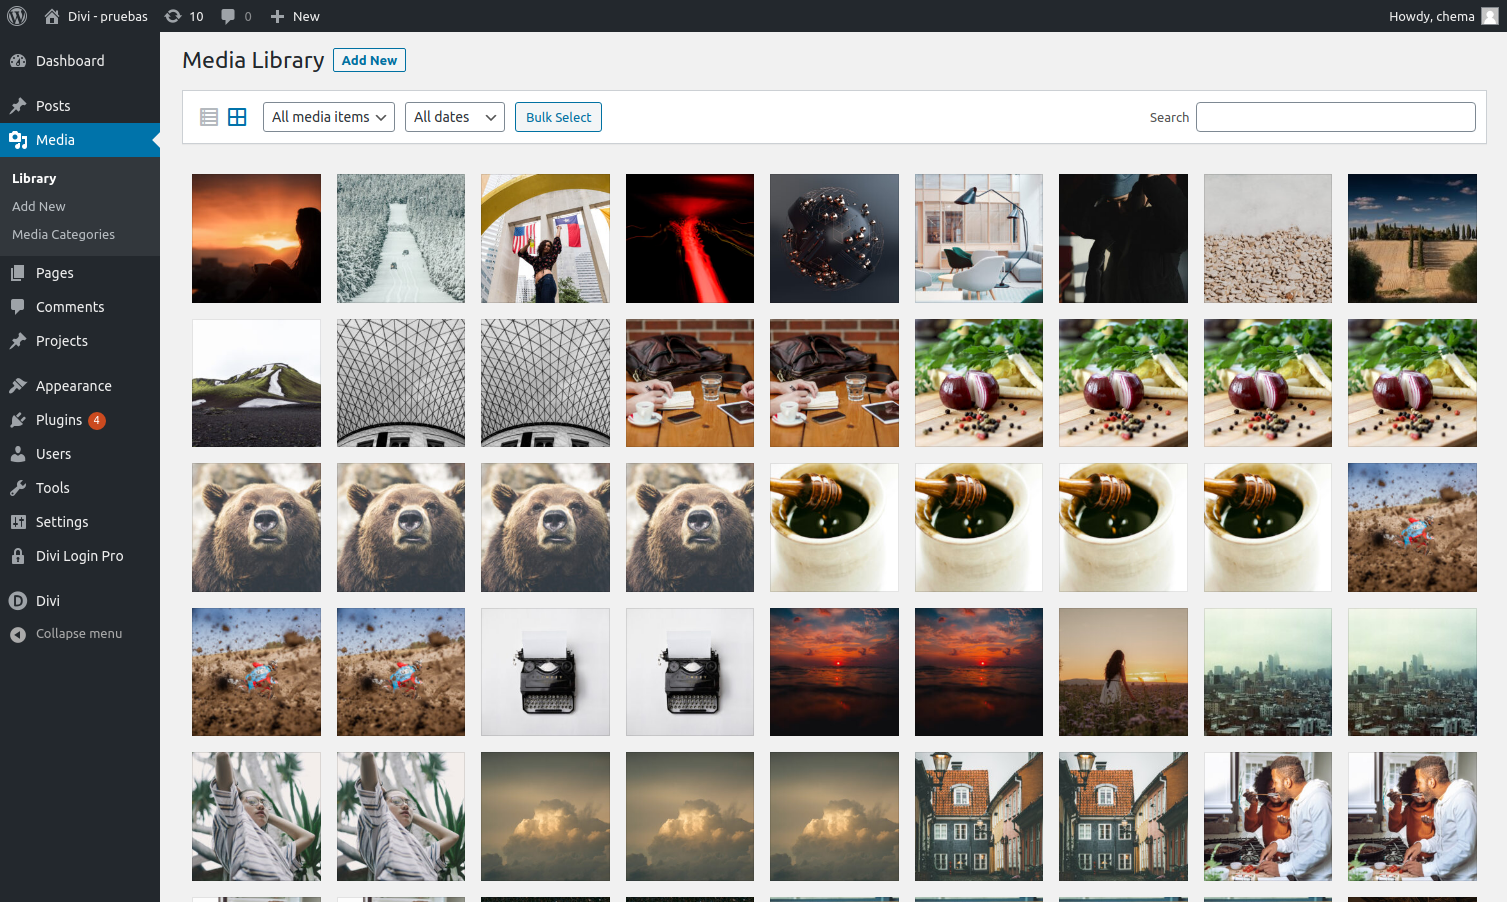
2-Click on the image you want to categorize and then click on the link ‘Edit more details’.
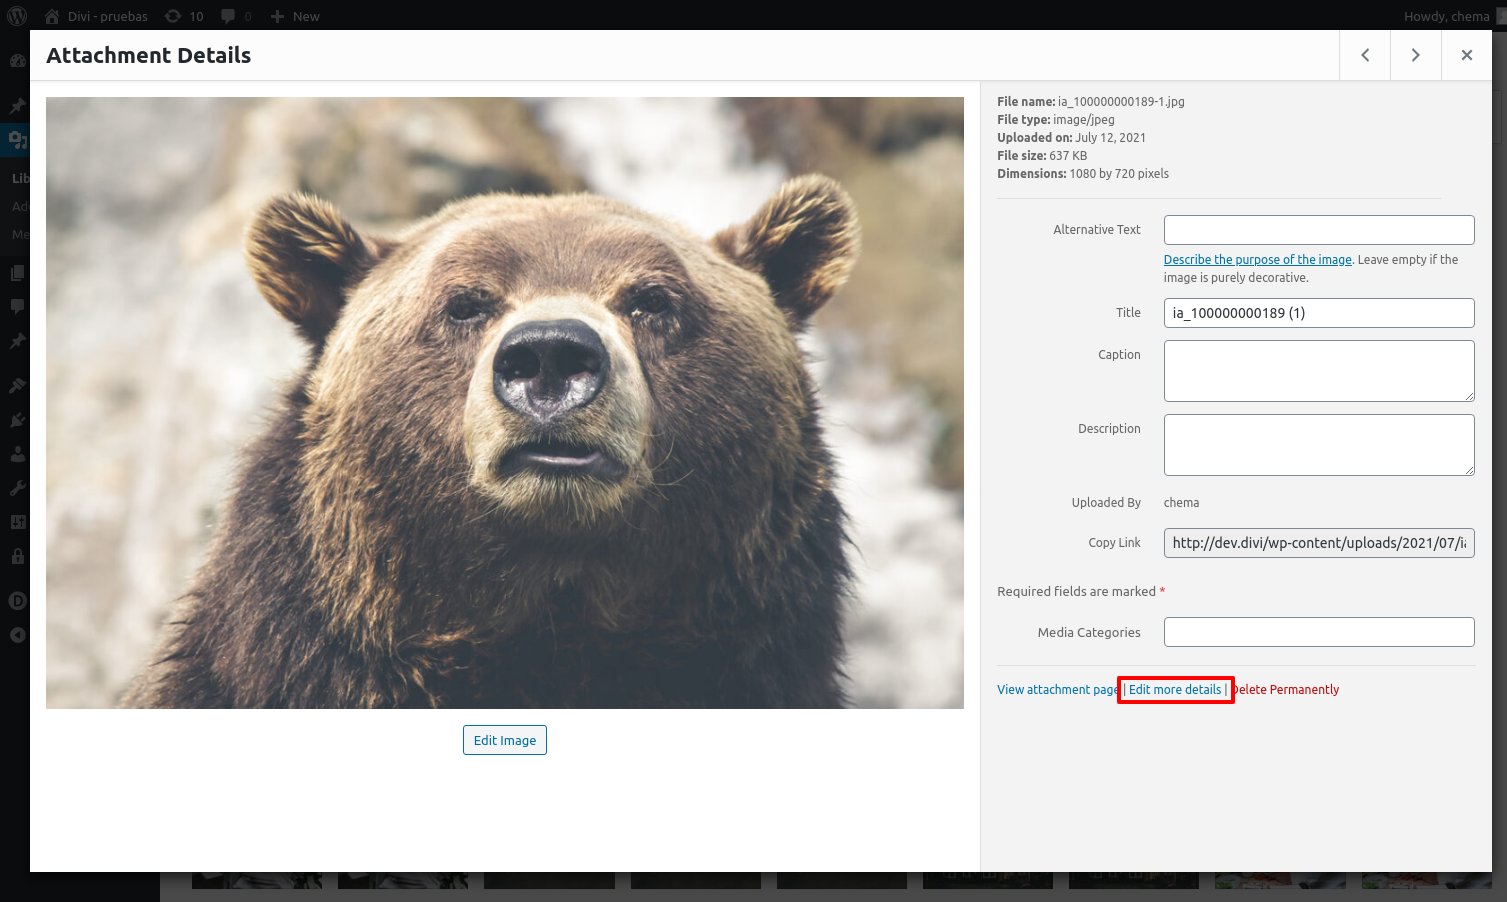
3-On the right side of the screen, click on the categories you want to add and save the images.
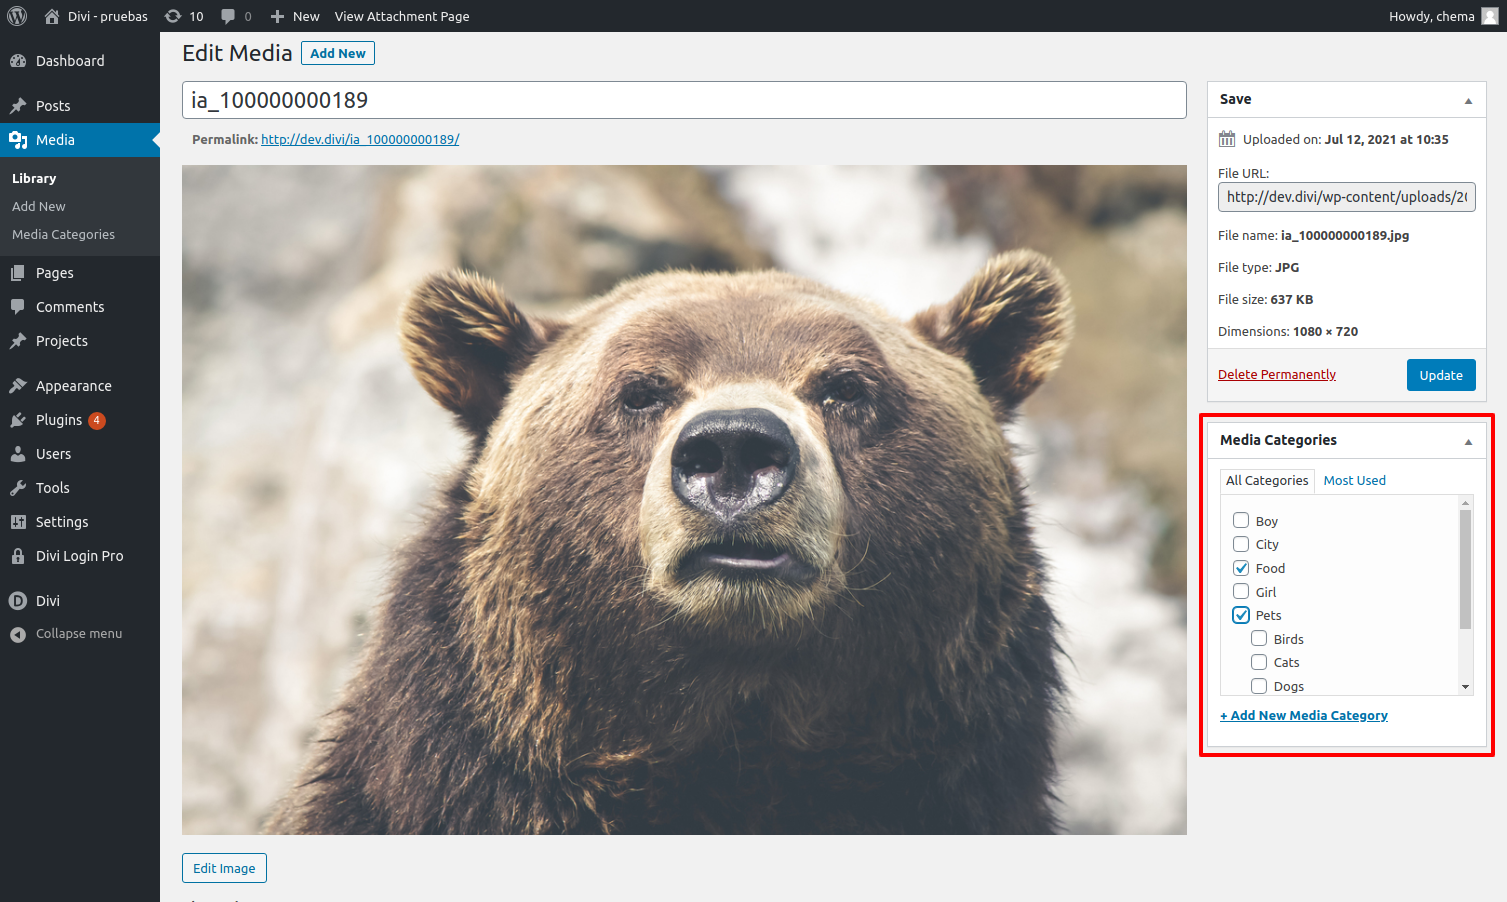
Once you have your categories created and your images categorized, you can select the categories you want to add in the Gallery Options.
Configure links to other pages
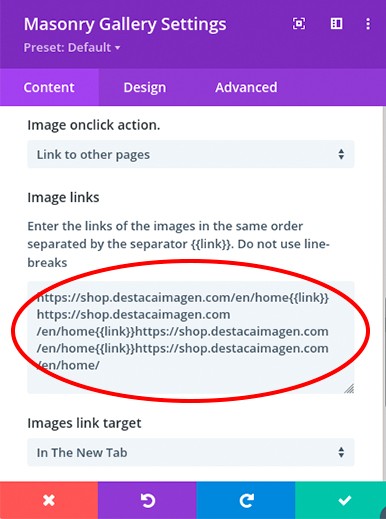
With Divi Masonry Gallery you can redirect your users to other pages when the click on the images. To do that, you have to select the option ‘Link to ohter pages‘ in the ‘Image onclick action‘. After that, you will see a field called ‘Image links‘. There you will have to add your links, in the same order as the images, separated by the tag {{link}}. See this example:
This is a Masonry Gallery with 3 images, with links configure, and the value of the field ‘Image links’ is this:
https://www.elegantthemes.com/marketplace/divi-login-pro/{{link}}https://www.elegantthemes.com/marketplace/divi-supercustom-menu/{{link}}https://www.elegantthemes.com/marketplace/divi-fullpage-slider/

